Tour Lumi
AI summary
About AI summaries.
This topic gives you a tour of the Imply Lumi UI. It covers the explore view, where you search and inspect events, and gives a brief overview of the other main areas of Lumi. You can reach each area from the navigation menu, which appears on every page. When you don't need the menu, you can collapse it to maximize usable screen space.
Explore
The explore view is the default view when you log in to Lumi.
From anywhere in the UI, click Explore in the navigation menu to access the explore view. You can search events using a combination of expressions in the search bar, the time range selector, and the attributes panel.
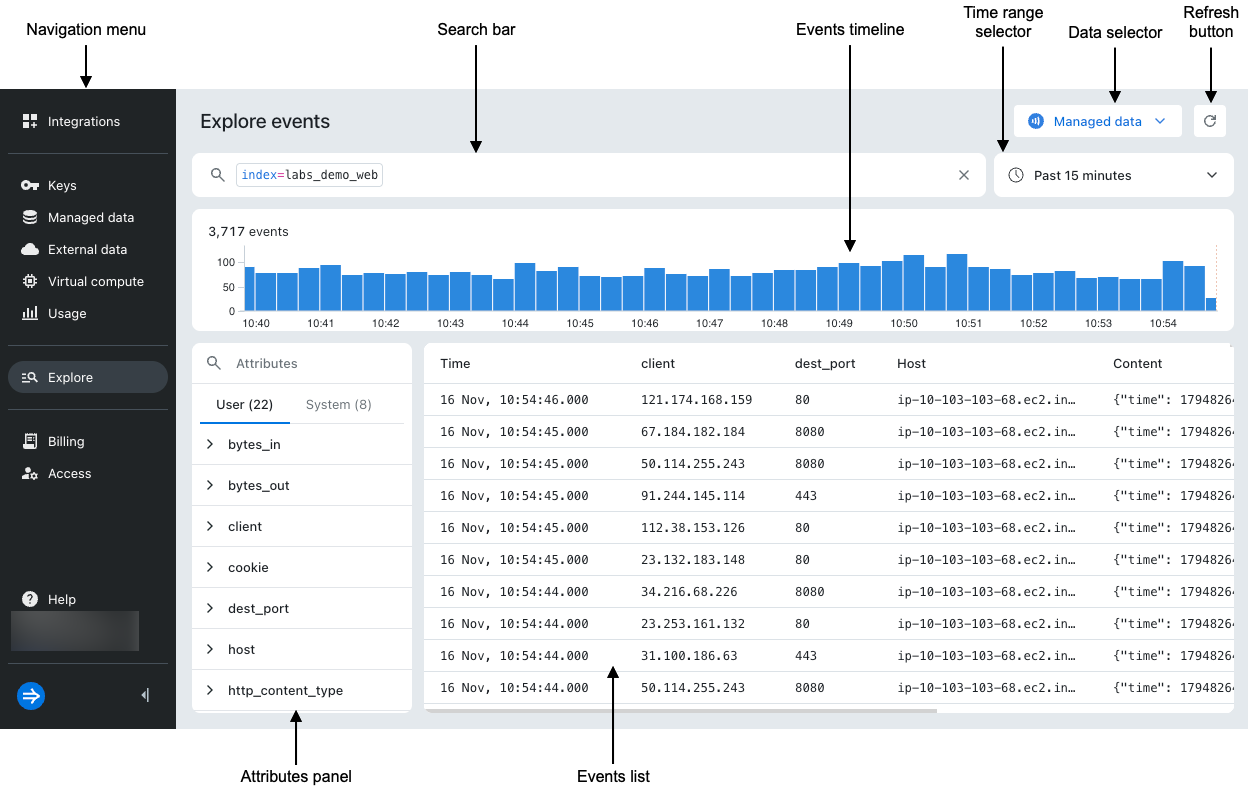
The elements in the explore view are as follows:
- Search bar: Enter search criteria to find events.
- Events timeline: Number of events created during the selected time range.
- Time range selector: Range of time to limit search results.
- Data selector: Choose whether to query managed data (stored in Lumi) or external data (in your own Amazon S3 storage).
- Refresh button: Refresh the events list, events timeline, and attributes panel with any new events added to Lumi.
- Attributes panel: List of user attributes in events.
- Events list: List of events that match the search criteria.
Click a column heading in the events list to add, move, or remove columns. The Time and Content columns are fixed on the far left and far right, and you can't remove them.
See Search events with Lumi for more information.
Event details pane
Click a specific event in the list to access the event details.
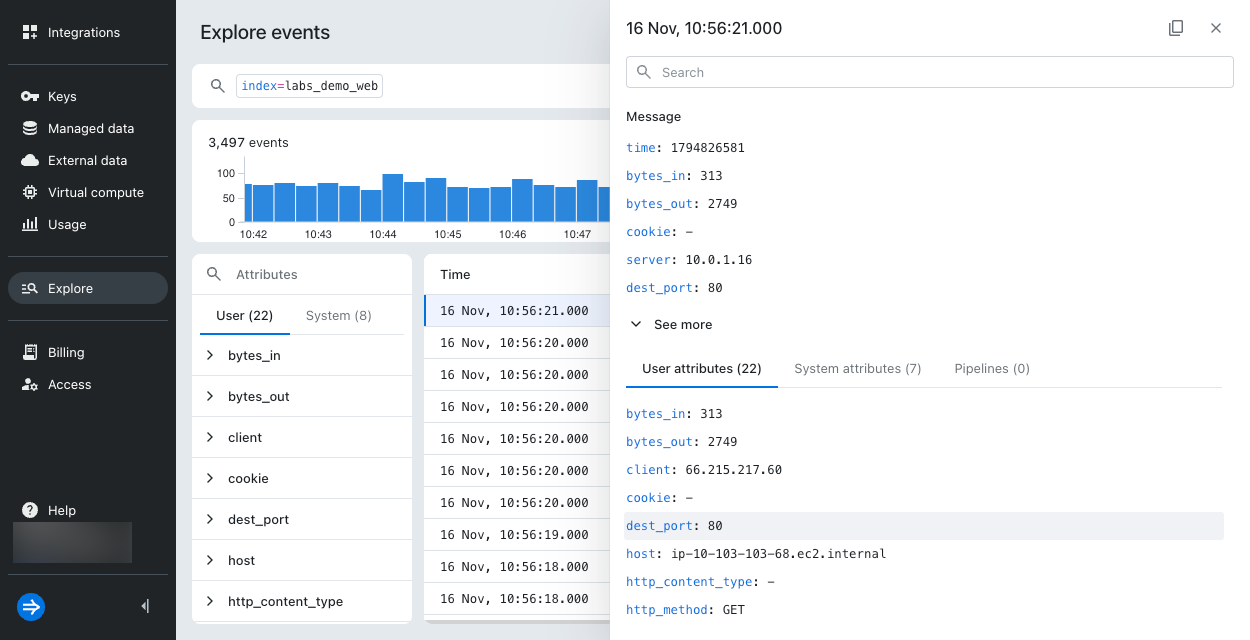
The event details pane provides a comprehensive view of an individual event and helps you understand where the data comes from, how it is processed, and its context in the system.
The elements on the event details pane are as follows:
- Search bar: Filter attributes by name or value.
- Message section: Raw event message.
- User attributes: Custom data fields included in the event payload. See User attributes for more information.
- System attributes: Metadata added by Lumi. See System attributes for more information.
- Pipelines: Pipelines that have processed the events. See Transform events using pipelines for more information.
To view or save an event, click the copy icon in the top right. This action copies the event timestamp, log message, user attributes, and system attributes in a JSON object. You can also select the message or any attribute to copy its value.
Integrations
Click Integrations in the navigation menu to connect Lumi to your existing observability tools and workflows. Each tile represents an integration. Select a tile and follow the instructions to set it up.
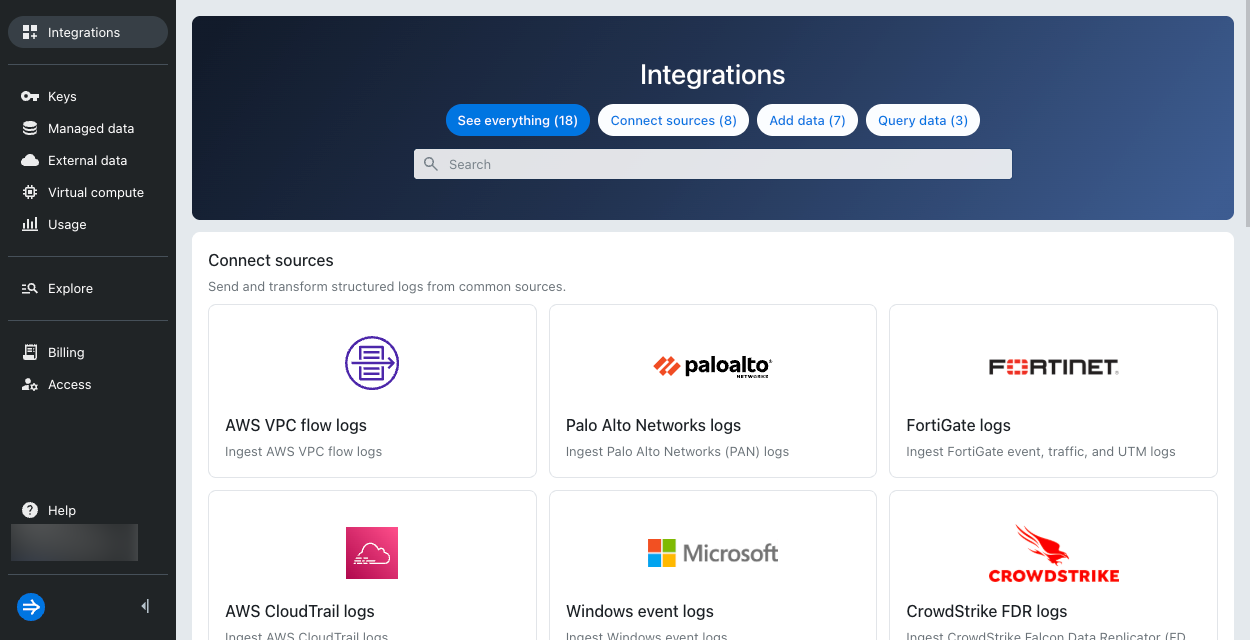
Integrations are grouped into the following categories:
- Connect sources: Send and transform structured logs from common sources, such as AWS VPC flow logs and Windows event logs, using predefined pipelines.
- Add data: Send events to Lumi or pull them from an external source, such as Amazon S3.
- Query data: Search Lumi events from third-party tools, such as Splunk® federated search and AI agents.
See Integrations for more information.
Keys
Click Keys in the navigation menu to view and create IAM keys. IAM keys authenticate the applications that send events to Lumi or search Lumi data, such as Splunk federated search. Each key can only use the integrations enabled on it.
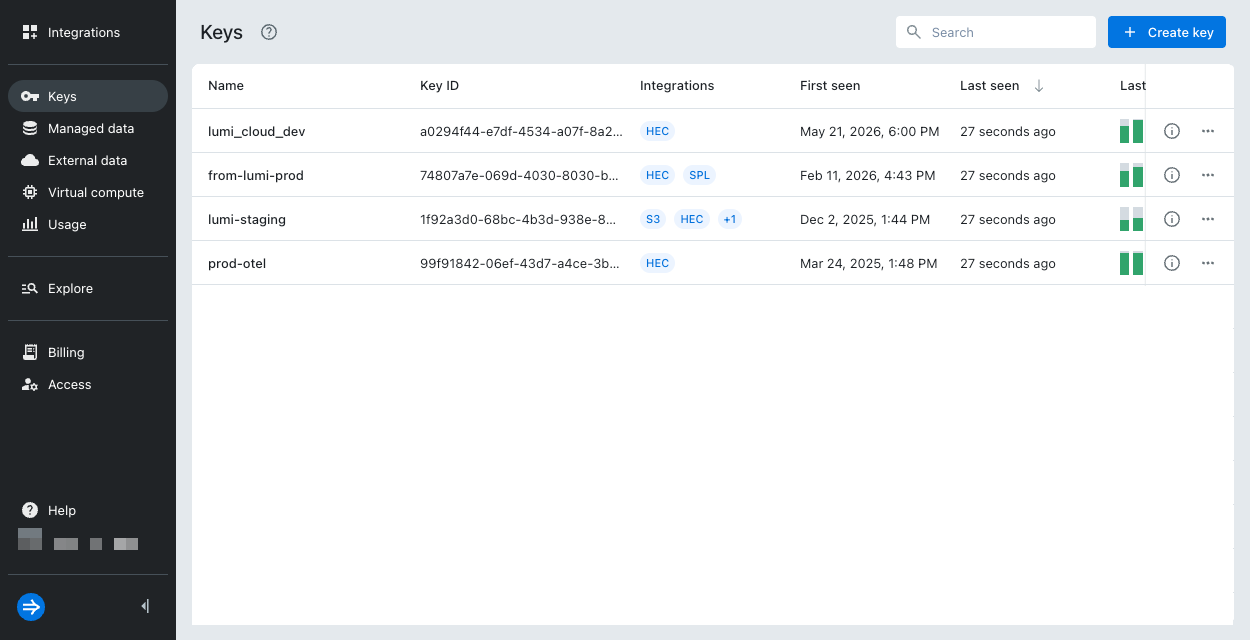
The Keys page lists your IAM keys with recent ingestion metrics. Click a key to view its details, enable integrations, edit attributes, and see hourly activity for each integration.
See IAM keys and Manage IAM keys for more information.
Managed data
Click Managed data in the navigation menu to control how Lumi processes and retains the events you send to it. Managed data is data that Lumi ingests and stores, as opposed to external data that stays in your own storage.
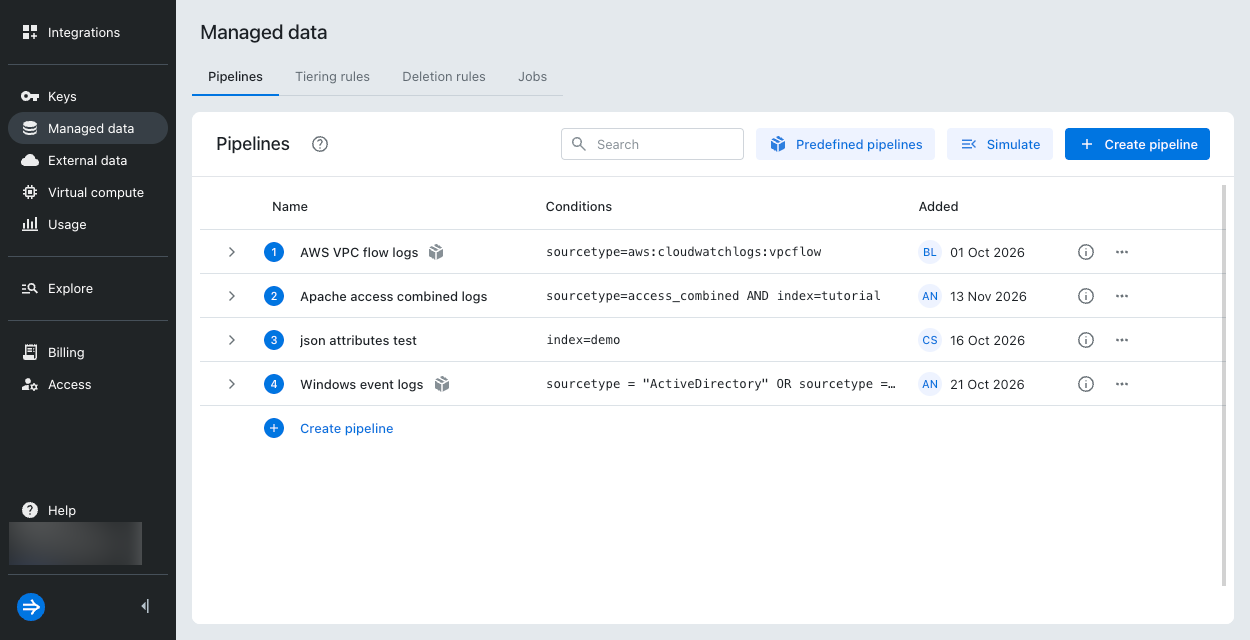
The Managed data page contains the following tabs:
- Pipelines: Create, order, and enable pipelines that transform events based on a search query you define. See Transform events using pipelines for more information.
- Tiering rules: Set how long data stays in the hot tier before it moves to the virtual tier. You need at least one virtual compute pool to create a tiering rule. See Manage tiering rules for more information.
- Deletion rules: Set when Lumi deletes data. See Manage deletion rules for more information.
- Jobs: View jobs created using backfill and poll-based recurring ingestion with Amazon S3. See Manage S3 jobs for more information.
External data
Click External data in the navigation menu to view and manage connections to data in your own Amazon S3 storage. Lumi queries external data without ingesting it. It indexes your source data and runs queries on a virtual compute pool, loading only the data each query needs.
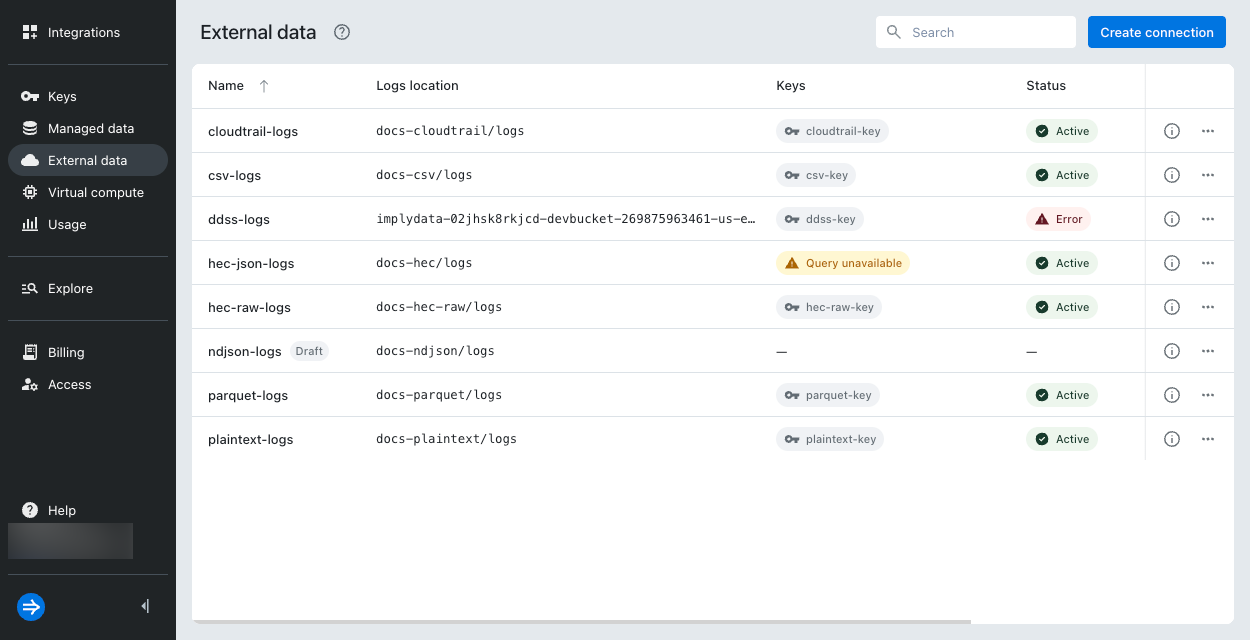
The External data page lists each connection with its logs location, associated IAM keys, and status. Click Create connection to connect a new S3 location.
See External data overview and Connect external data for more information.
Virtual compute
Click Virtual compute in the navigation menu to view and manage virtual compute pools. Virtual compute pools are transient compute resources that serve queries against the virtual tier and external data. Lumi starts a pool when a query needs it and shuts it down after the pool's maximum idle time.
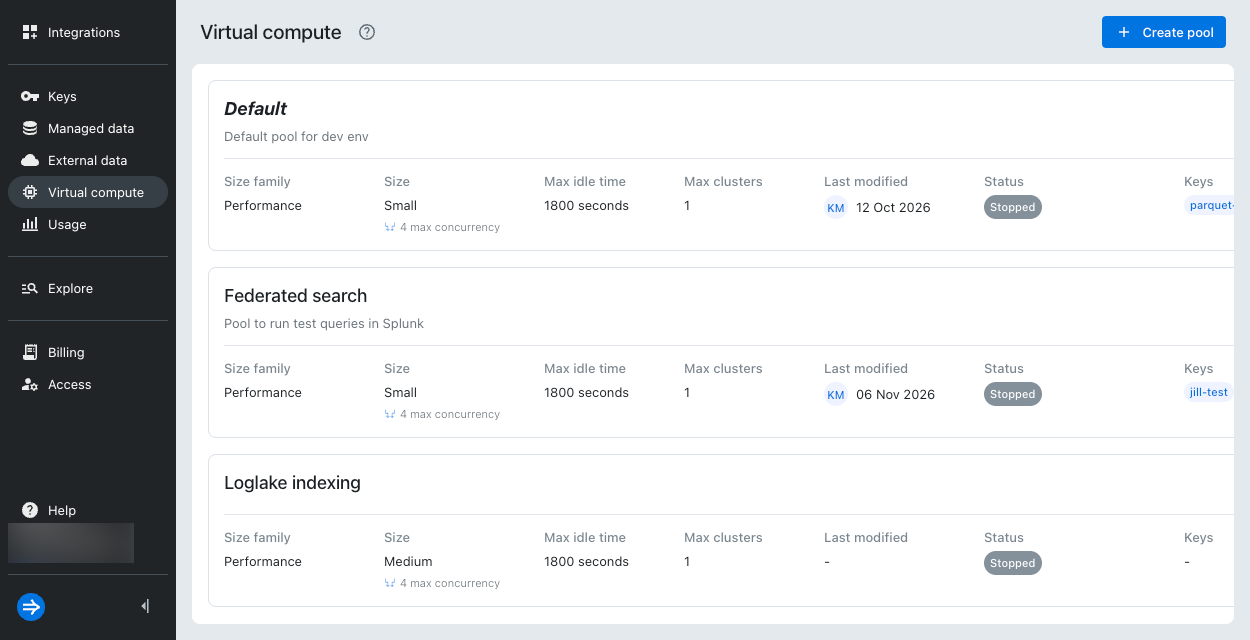
The Virtual compute page shows each pool's size family, size, maximum idle time, maximum clusters, status, and the IAM keys assigned to it. The default pool appears first. Click Create pool to add a new pool.
See Virtual tier overview and Manage virtual compute pools for more information.
Usage
Click Usage in the navigation menu for an operational view of system activity and performance. Use this page to monitor ingestion health, troubleshoot issues, and understand overall system usage.
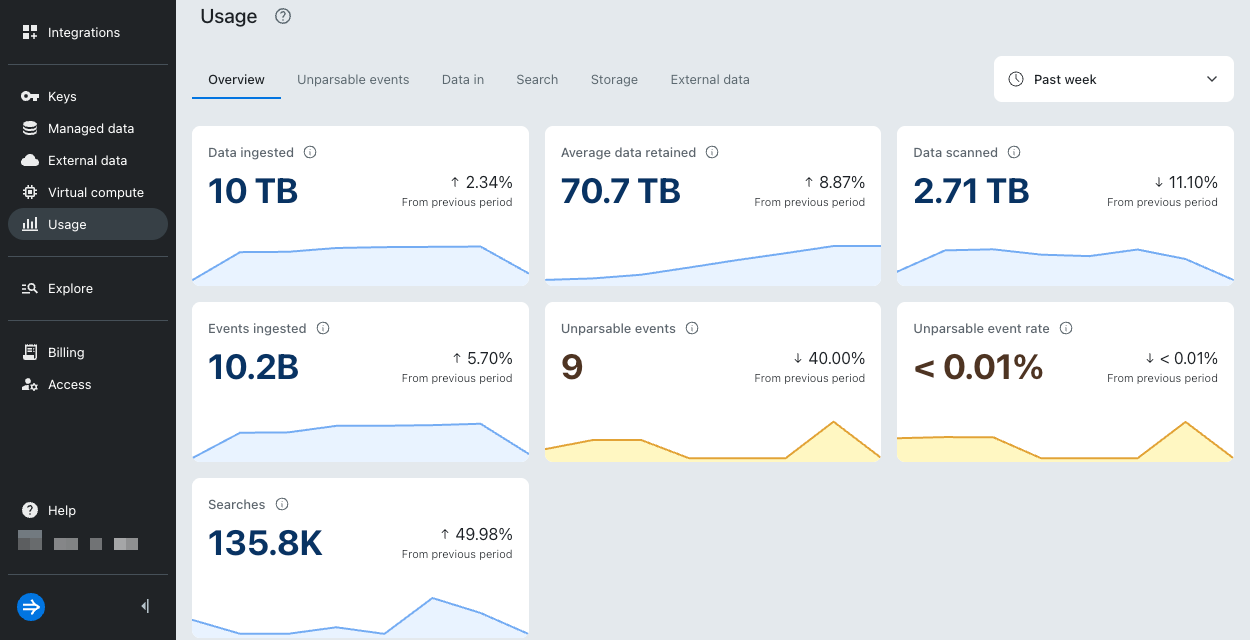
See Monitor usage for more information.
Billing
Click Billing in the navigation menu to track how many Imply Credits (ICR) you use for ingesting, searching, and retaining data. Billing applies to Lumi Cloud only.
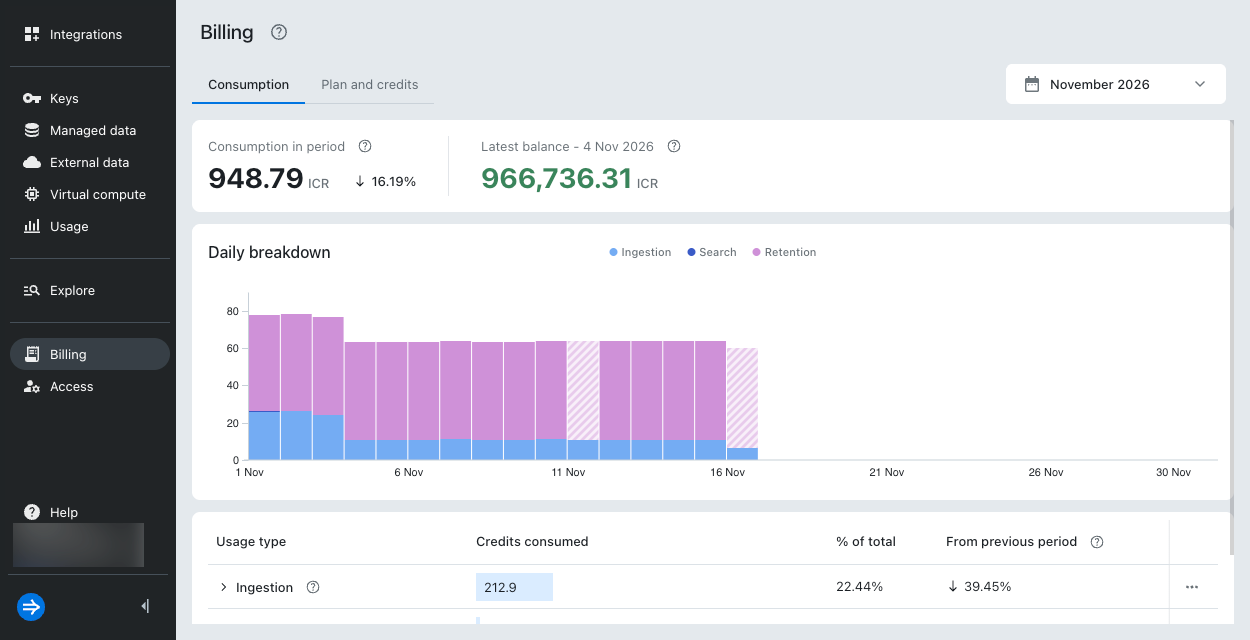
The Billing page contains the following tabs:
- Consumption: View a daily breakdown of credits consumed in the selected month, by usage type.
- Plan and credits: View your plan details, current balance, and balance history.
See Billing for more information.
Access
Click Access in the navigation menu to manage users and view Lumi roles.
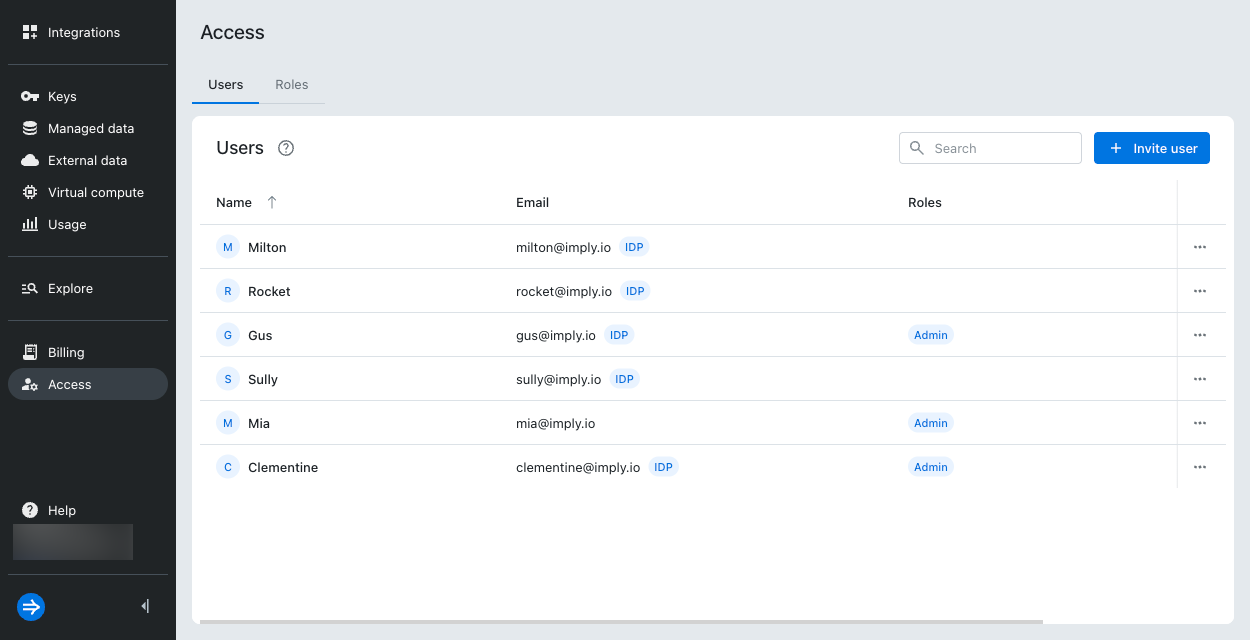
The Access page contains the following tabs:
- Users: Invite users and assign roles. See Manage users for more information.
- Roles: View Lumi roles, their permissions, and the users assigned to each role. See Use roles to control access for more information.
For Lumi Enterprise in external mode, the Access page has tabs for configuring identity providers and viewing the access log instead of the Users tab.
Profile
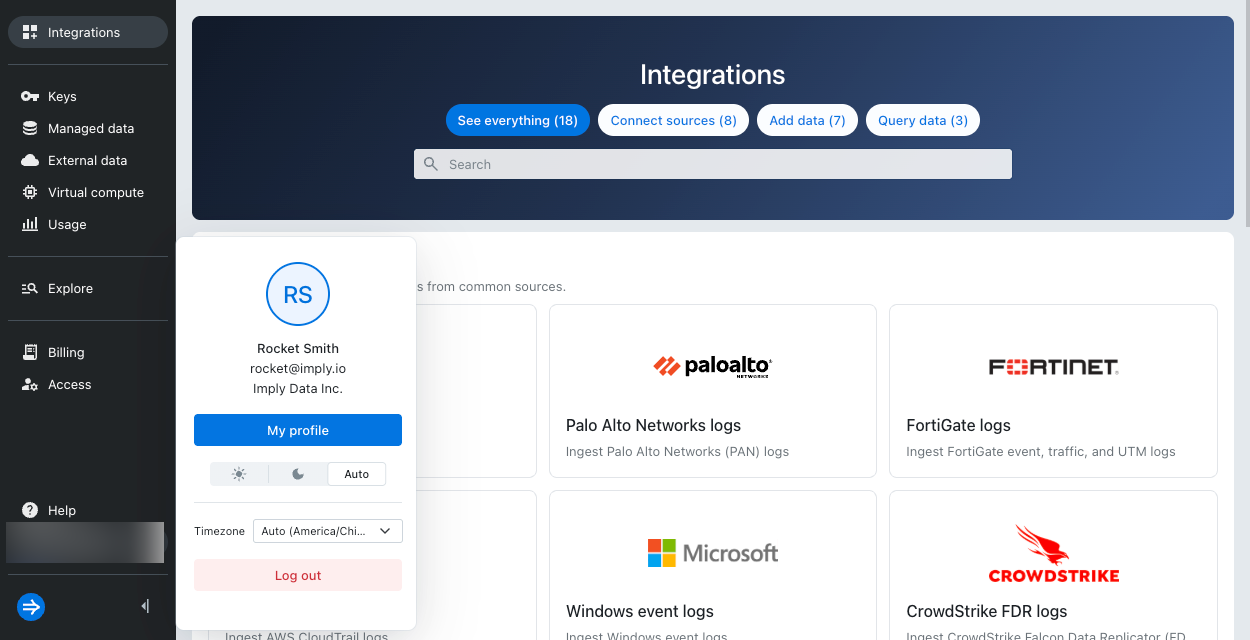
Click your name to access the following options:
- My profile: View and edit your account information and assigned roles, and reset your password.
- Mode: Choose how your interface appears:
- Light: Light background with dark text.
- Dark: Dark background with light text.
- Auto: Automatically match your device's theme setting.
- Timezone: Change your timezone. By default, Lumi uses your device’s timezone.
- Log out: Log out of your account.