Configure SAML SSO for Lumi Enterprise
AI summary
About AI summaries.
- This information applies to Lumi Enterprise.
- External mode is an early access feature.
External mode is a deployment configuration where user and role management is delegated entirely to an external identity provider (IdP), instead of being managed by Imply Lumi Enterprise.
Lumi Enterprise supports the following IdPs:
In external mode, Lumi Enterprise uses Security Assertion Markup Language (SAML) 2.0 for authentication. Users authenticate through SAML-based single sign-on (SSO) using their IdP credentials.
This topic explains how to configure SAML SSO for Lumi Enterprise in external mode.
Prerequisites
Before you set up SAML SSO, you need the following:
- Administrator access to your SAML IdP.
- External mode enabled for your Lumi Enterprise deployment. To enable external mode, set
auth_modetoexternalinmain.tf, then runterraform apply. - A system admin user to add your first IdP. For more information, see System admin.
- A user with the Admin role to add additional IdPs. For information on roles and permissions, see Manage roles.
Configuration steps
In external mode, you either use a single admin user or configure SSO to enable multiple users. To set up your first IdP, log in to Lumi using the system admin credentials. The system admin user is a built-in administrator account with full access to the deployment.
To add more IdPs, you can log in through your existing IdP. The account you use to log in must belong to an IdP group mapped to the Admin role in Lumi.
The general SSO configuration flow is as follows:
To streamline the setup, keep two browser tabs open: one for Lumi and one for your IdP.
Connect the IdP
Configure a SAML connection in Lumi to generate the metadata you need to register a Lumi application in your IdP:
- From the Lumi navigation menu, click Access.
- Click + Add identity provider and select the IdP you want to add. Lumi supports Okta and Microsoft® Entra ID.
- Lumi displays IdP-specific SAML configuration settings.
- Copy the Entity ID and URL values from the Configure service provider details section. Lumi updates the settings based on the IdP selected:
- For Okta, copy Audience URI (SP Entity ID) and Single Sign-On URL.
- For Microsoft Entra ID, copy Identifier (Entity ID) and Reply URL (Assertion Consumer Service URL).
In a new browser window, log in to your IdP as an administrator and follow the IdP-specific instructions to create a new application:
- Okta
- Microsoft Entra ID
- Follow the steps in Configure a Custom SAML Application in Okta to create a SAML application.
- Configure the following settings:
- In the Audience URI (SP Entity ID) and Single Sign-On URL fields, paste the values you copied from Lumi.
- Set Name ID format to
EmailAddress. - Set the group attribute statement Name to
groups. For more information, see Define group attribute statements.
- Finish the setup as directed by Okta.
- Copy the value of Metadata URL. Lumi uses this URL to fetch the IdP configuration details it needs to authenticate users.
- Follow the steps in Quickstart: Add an enterprise application to create a SAML application. Then, follow the steps in Enable SAML single sign-on for an enterprise application to enable SSO.
- Configure the following settings:
- In the Identifier and Reply URL fields, paste the values you copied from Lumi.
- Set Name identifier format to
Email address. - In the Group claims pane, select the groups you want to include in the claim.
- Set Source attribute to
Group ID.
- Finish the setup as directed by Microsoft.
- In the SAML certificates pane, copy the value of App federation metadata URL. Lumi uses this URL to fetch the IdP configuration details it needs to consume tokens issued by Microsoft Entra ID. For more information, see Federation metadata.
Enter the IdP metadata
Add your IdP's metadata to Lumi so that Lumi can validate authentication requests from the IdP:
- In Lumi, go to the Enter IdP metadata page.
- Click Enter URL and paste the SAML metadata URL you copied from the IdP into the SAML metadata URL field.
Alternatively, click Enter manually to provide the IdP metadata in these fields:- IdP identifier: Unique identifier for your IdP.
- Login URL: SAML SSO endpoint URL.
- Certificate (Base64): Private certificate from the IdP for signature verification.
- Review the details and click Next.
Complete the setup and test
Before you enable the IdP profile, complete the configuration and test your SSO connection to avoid locking users out:
- In Lumi, go to the Complete setup and test page.
- In IdP profile display name, enter a name for your IdP profile. This name appears on the login page.
- In Select default role, select a role for unmapped users. By default, unmapped users can log in to Lumi through the IdP but don't have permissions to access any pages. For information on Lumi roles, see Manage roles.
- Click Test connection to verify your settings. The test opens in a new browser tab. If successful, you'll see a message similar to the following:
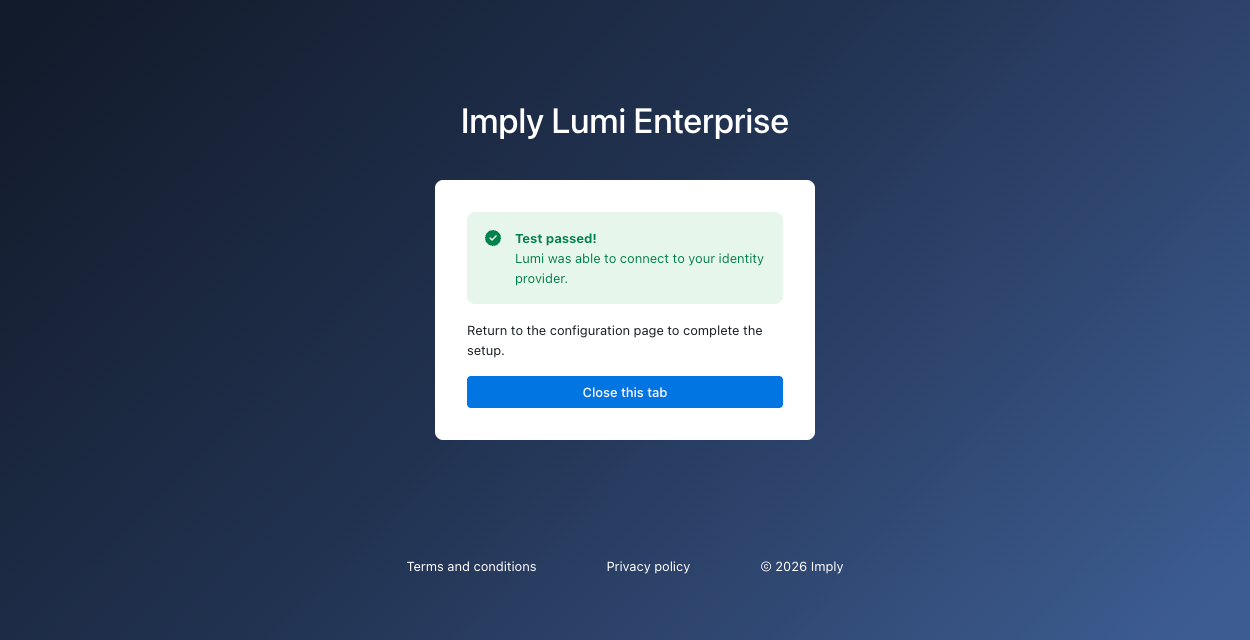 If the test fails, verify that your settings are correct and try again.
 - After confirming the connection, click Save.
- To map Lumi roles to IdP groups, follow the steps in Map Lumi roles to IdP groups.
Map Lumi roles to IdP groups
Role mapping enables Lumi to assign roles to users based on the groups they belong to in the IdP. If you don't map Lumi roles to IdP groups, users can still authenticate through SSO, but Lumi assigns them the default role you configured in the Select default role field.
To map Lumi roles to IdP groups:
- From the Lumi navigation menu, click Access.
- Select the IdP you want to map roles for.
- In the Role mapping pane, click Edit.
- Optionally, update the default role for unmapped users.
- In the Mapped roles section, click + next to the Lumi role you want to map an IdP group to.
- Enter the IdP group name, then press
Enter. - Click Save.
In external mode, you manage all users in the IdP rather than in Lumi. To view the available roles and corresponding permissions in Lumi, go to Access > Roles.
Manage IdPs
After you configure the IdP, you can edit its metadata and group mappings, enable or disable it, or delete it entirely.
Edit an IdP
To make changes to your IdP configuration:
- From the Lumi navigation menu, click Access.
- Click the IdP you want to modify.
- Click Edit on the metadata or role mapping pane to make changes.
- Click Save.
Enable or disable an IdP
To enable or disable an IdP:
- From the Lumi navigation menu, click Access.
- Click the ellipsis next to the IdP and select either Enable or Disable.
Delete an IdP
Before you delete an IdP, ensure that you have the system admin user enabled or another IdP configured. If your system admin user is disabled and you delete your only IdP, there is no fallback login option. To recover access, re-enable the system admin user and reconfigure the IdP. For instructions, see Enable the system admin user.
To delete an IdP:
- From the Lumi navigation menu, click Access.
- Click the ellipsis next to the IdP you want to delete.
- Click Delete.
- Enter the IdP name to confirm and click Delete.
Revoke user access
To revoke user access, disable the user account in the IdP directly. Refer to your IdP's documentation for details.
Learn more
See the following topics for more information:
- System admin user for details about the system admin user.
- Security for an overview of available Lumi security measures.
- Manage roles for reference on predefined roles in Lumi.