How to send events with S2S
AI summary
About AI summaries.
In this tutorial, you learn how to send data to Imply Lumi using the tcpout integration with Splunk®.
The integration is based on the Splunk-to-Splunk (S2S) TCP-based data transmission protocol.
The steps show you how to:
- Configure your Splunk instance to access the TCP endpoint in Lumi.
- Apply settings to parse events.
- Send a log file to Lumi.
- Preview the data and view events in Lumi.
To complete the steps, you use sample web traffic data from a fictional online store. For details about the dataset and its format, see the tutorial data overview.
The following diagram summarizes the end-to-end process of sending events to Lumi using S2S. Yellow shaded boxes represent steps taken within Lumi, and blue shaded boxes represent steps taken outside Lumi. Click any box in the diagram to jump to that step.
Prerequisites
To complete the tutorial, you need the following:
- Access to Lumi with the Data manager role or higher.
For information on roles and permissions, see Manage roles. - A Splunk universal or heavy forwarder.
The tutorial assumes that you manage your Splunk configuration locally. If you manage Splunk through a deployment server, see Updating your configuration. - Port 9997 open for outbound TCP traffic on the machine forwarding the events.
A basic understanding of event forwarding in Splunk is helpful but not required to complete this tutorial.
1. Create an IAM key
In this section, you create an IAM key and set event parsing attributes on the key.
-
From the Lumi navigation menu, click Integrations >
tcpout.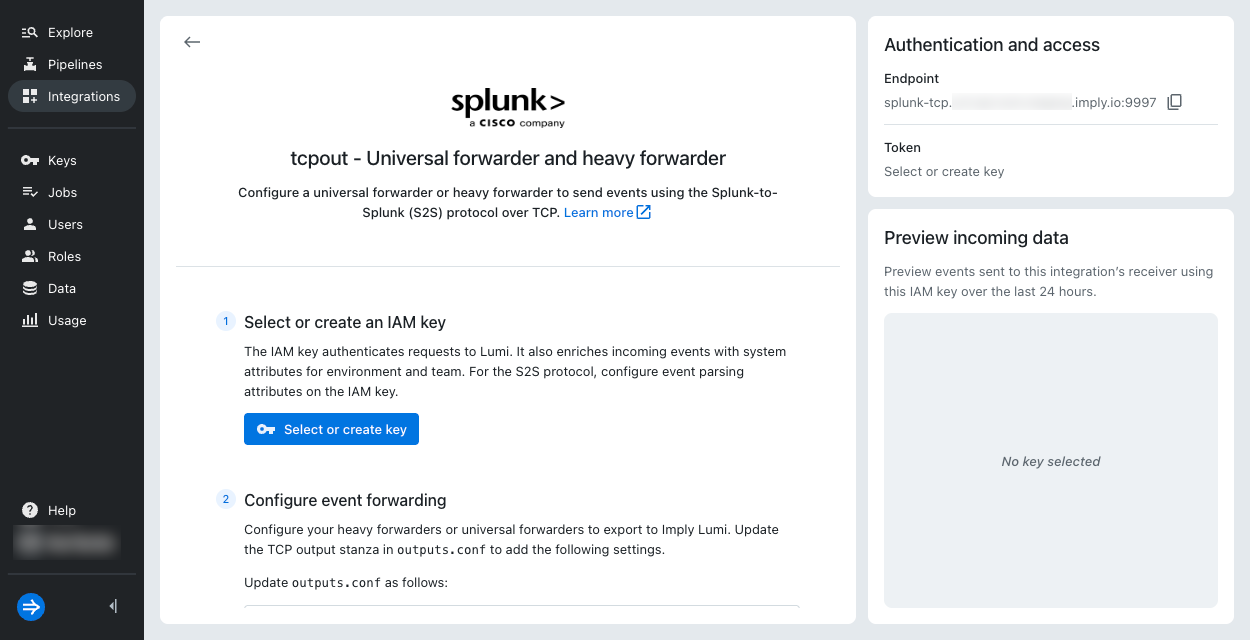
-
In the Select or create an IAM key pane, click Select or create key > Create key.
-
Enter the following information in the Create IAM key dialog:
- General:
- Name:
tutorial-s2s
Only the Name field is required to create the IAM key. - Description:
IAM key for S2S tutorial
- Name:
- Global attributes: Events sent to Lumi contain
envandteamas system attributes.- Environment:
tutorial - Team:
learning
- Environment:
- S2S attributes: These settings apply to the sample events for this tutorial.
The S2S attributes aren't stored with the events.
For more details on the attributes and these example values, see Event parsing for S2S.
- Time prefix:
[\w\.:]*\s[\w-]*\s[\w-]*\s\[
Regex pattern representing the string that precedes the timestamp. - Max timestamp lookahead:
20
Number of characters into the line in which to search for the timestamp. - Time format:
%d/%b/%Y:%H:%M:%S
Format of the timestamp.
- Time prefix:

- General:
-
Click Create to add the key and enable the integration for it.
-
In the Configure event forwarding section, view the configuration for Splunk
outputs.conf. This configuration is specific to your IAM key and Lumi environment. You copy this configuration into your Splunk file in the next section.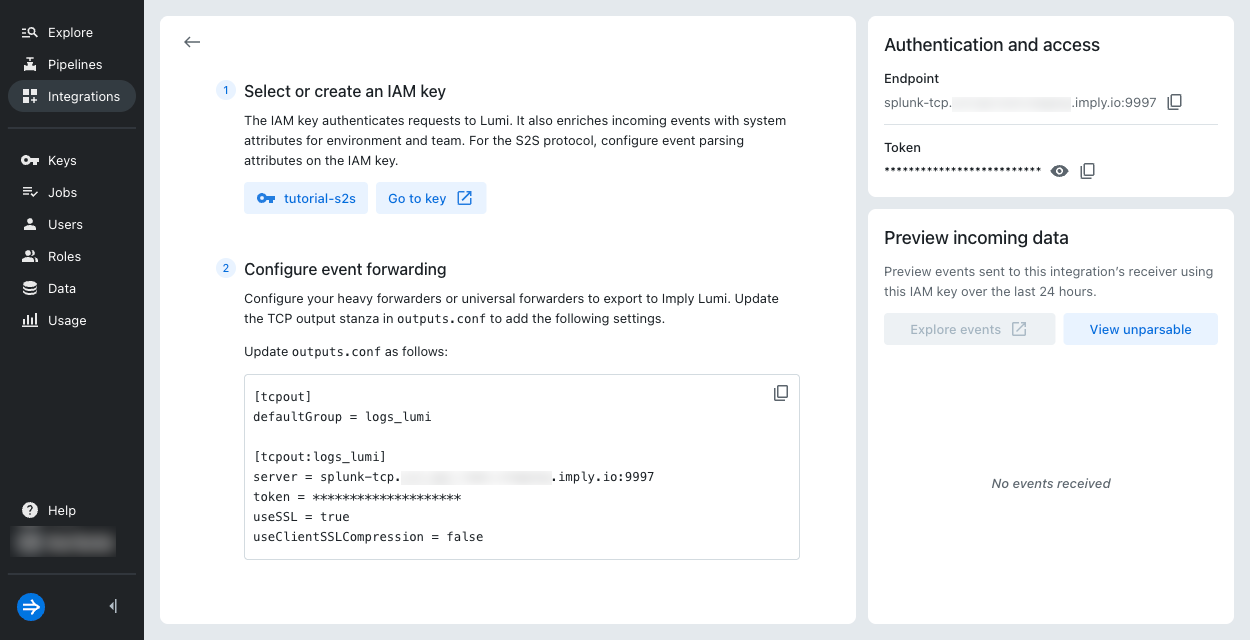
2. Add the Lumi receiver in Splunk outputs
In this section, you add Lumi as a receiver on the Splunk forwarder.
You edit the Splunk configuration file outputs.conf to create a tcpout processor with Lumi details.
See the Splunk documentation for additional information on configuring receivers in Splunk.
-
In your terminal, navigate to the directory that contains the CLI of your Splunk installation:
$SPLUNK_HOMEon Unix-based machines or%SPLUNK_HOME%on Windows.infoThe
SPLUNK_HOMEvariable is set at installation time and specifies the path where Splunk is installed. For example,/Applications/SplunkForwarderon a Mac OS orC:\Program Files\Splunkon Windows. -
In a text editor, open a new file called
outputs.confinside the directoryetc/system/local/. -
Copy and paste the Lumi receiver configuration into the file. Your file should resemble the following:
[tcpout]defaultGroup = logs_lumi[tcpout:logs_lumi]server = LUMI_ENDPOINTtoken = IAM_KEY_TOKENuseSSL = trueuseClientSSLCompression = falseEnsure your values for
LUMI_ENDPOINTandIAM_KEY_TOKENrepresent your specific endpoint and token. For details on these settings, see Send events with S2S. -
Save and close the file. You restart Splunk in a later step, and Splunk encrypts the token value upon restart.
3. Define processing rules in Splunk props
In this section, you define processing rules for the Splunk forwarder in the configuration file props.conf.
See the Splunk documentation for additional information on processing rules in Splunk.
-
In a text editor, open a new file called
props.confinside the directoryetc/system/local/. -
Copy and paste the following content into the file:
TIME_PREFIX = [\w\.:]*\s[\w-]*\s[\w-]*\s\[MAX_TIMESTAMP_LOOKAHEAD = 20TIME_FORMAT = %d/%b/%Y:%H:%M:%SSHOULD_LINEMERGE = falseThe first three properties describe timestamp extraction. These values match the timestamp parsing properties you assigned on the IAM key.
The rule
SHOULD_LINEMERGE = falsetreats each line of data as a separate event. By default, Splunk combines several lines of data into a single multi-line event. -
Save and close the file.
4. Specify the source of events in Splunk inputs
In this section, you direct the forwarder to an input source of log data.
You edit the Splunk configuration file inputs.conf to create a batch input with the log file details.
See the Splunk documentation for additional information on input sources in Splunk.
-
In a text editor, open a new file called
inputs.confinside the directoryetc/system/local/. -
Copy and paste the following content into the file:
sourcetype = access_combined[batch:///Applications/SplunkForwarder/site_visitors.log]move_policy = sinkhole[blacklist:/Applications/SplunkForwarder/var/log]Note the following stanzas in this configuration:
-
You set the
sourcetypeof the file to the recognized typeaccess_combined. Refer to the Splunk documentation for a list of source types that Splunk automatically recognizes. -
You use the
batchinput to effectively upload a file through the forwarder. This is a destructive method to send events; Splunk deletes the file after reading it. If you have a file you want to continuously monitor, use themonitorinput instead. -
With the default forwarder settings, the forwarder sends internal Splunk log files such as
metrics.log. Theblackliststanza in this example prevents those log files from being sent. If you prefer to monitor these files, remove theblackliststanza. You can filter specific source files in the explore view.
-
-
Start the Splunk forwarder:
./bin/splunk startIf the forwarder is already running, be sure to restart it:
./bin/splunk restart. -
To send the data, download the example data file
site_visitors.logand save it in yourSPLUNK_HOMEdirectory. Splunk automatically reads the data and removes the file.
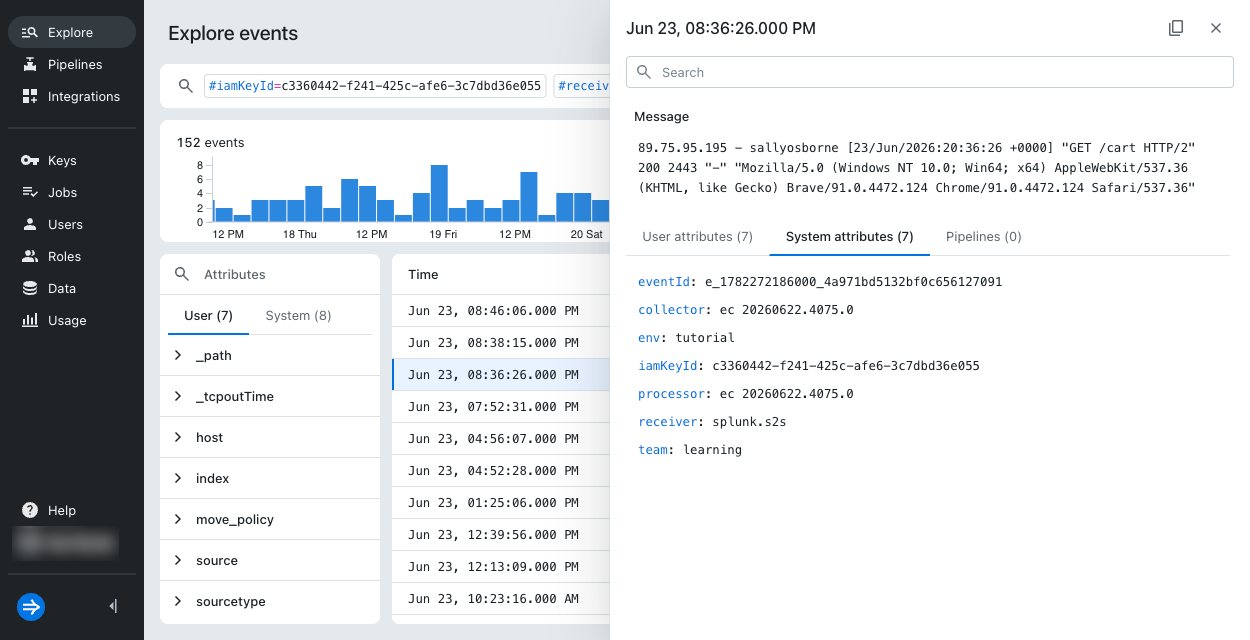
5. Preview data
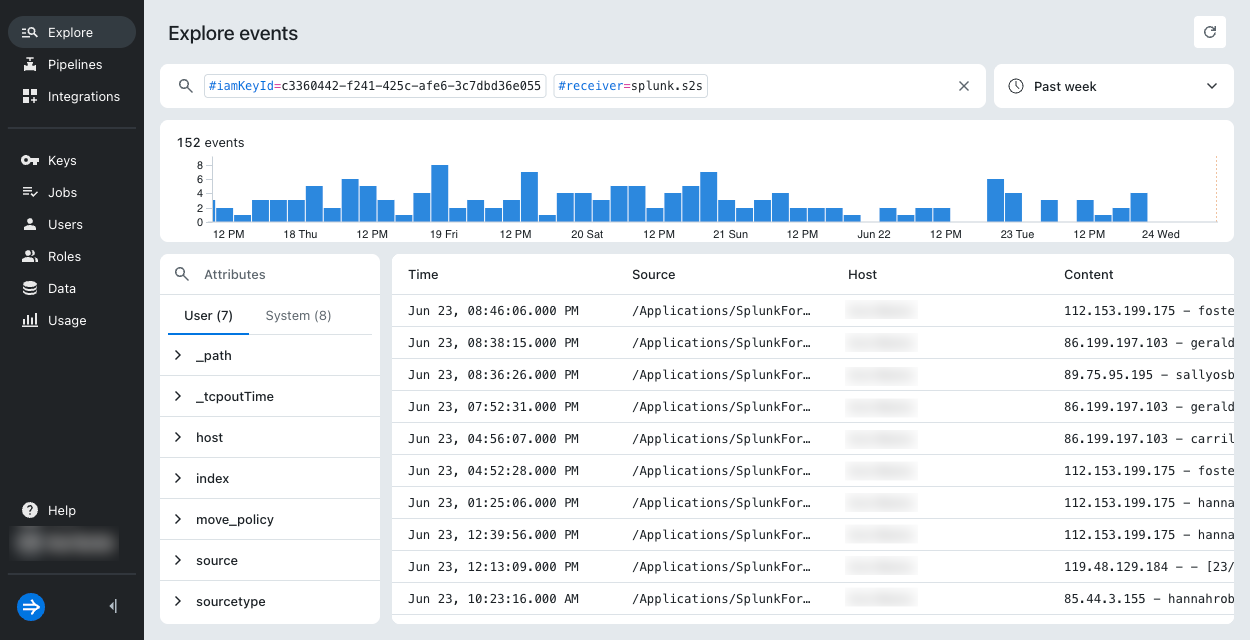
In this section, you preview the data you sent to Lumi and view the events in the explore view.
-
In Lumi, return to the
tcpoutintegration page. In the Preview incoming data pane, view the newly added events.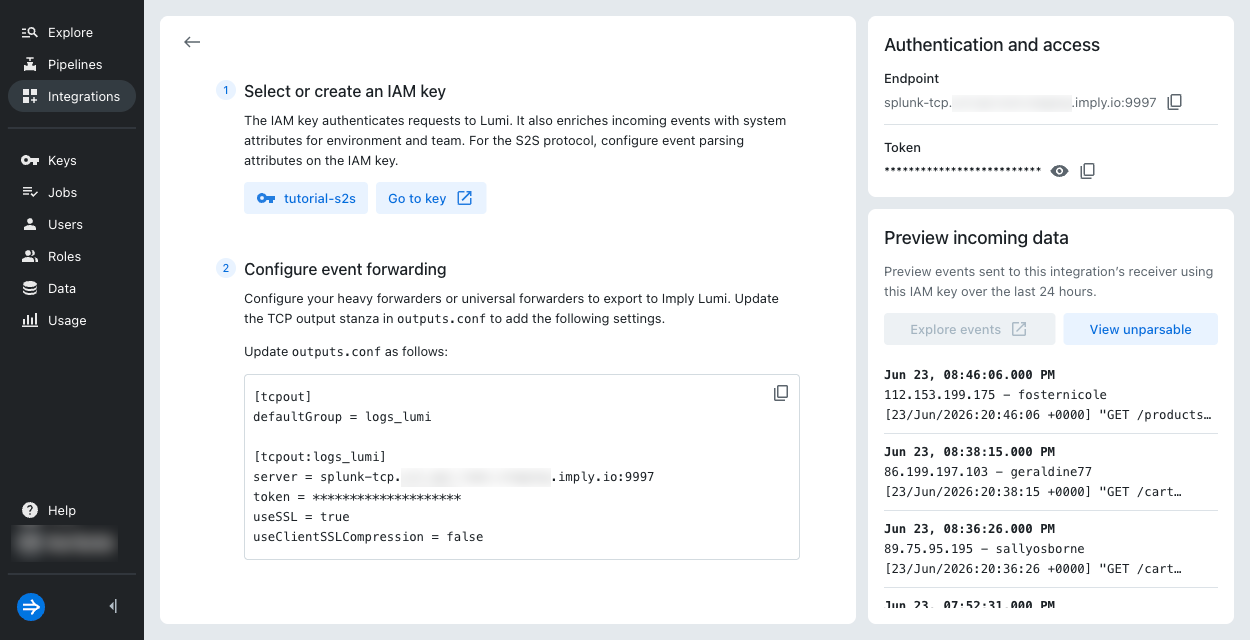
-
Select Explore events. Lumi takes you to the explore view and applies search filters for your IAM key and the integration. You may need to edit the time range or refresh the page to see the events.
-
Select an event to view the event and its attributes. For details on the attributes, see Event model.
For information on searching events and filtering on event attributes, see Search events with Lumi.
Learn more
For more information, see the following topics:
- Send events with S2S for details on the Splunk-to-Splunk integration.
- Event parsing for S2S for reference on parsing events using the S2S protocol.
- Send events to Lumi for other options to send events.