Guide for Azure Blob Storage ingestion
This guide walks through the end-to-end process to ingest data into Imply Polaris from Microsoft® Azure Blob Storage. For information on creating Azure Blob Storage connections in Polaris, see Connect to Azure Blob Storage.
The following diagram summarizes the end-to-end process of connecting to your Azure Blob Storage Container and ingesting from it. Shaded boxes represent steps taken within Polaris, and unshaded boxes represent steps taken outside Polaris.
The screen captures and instructions in this guide show the configurations for Azure services in April 2024. They may not reflect the current state of the product.
Prerequisites
To complete the steps in this guide, you need the following:
-
An Azure storage account with a container that holds data to ingest. See Supported formats for requirements on the data format for ingestion.
-
Azure permissions to do the following:
- View storage account details in the Azure console.
- Create a Shared Access Signature (SAS) token (recommended) or retrieve the storage account access key.
-
Permissions in Polaris to create tables, connections, and ingestion jobs:
ManageTables,ManageConnections, andManageIngestionJobs, respectively. For more information on permissions, visit Permissions reference.
Get details from Azure
In this section, you record the name of the Azure Storage account that Polaris will ingest data from.
In the Azure console:
-
Locate and click the Azure service named Storage accounts.
-
Copy and save your storage account Name.

-
Click the name of your storage account.
-
Click Containers in the left pane.
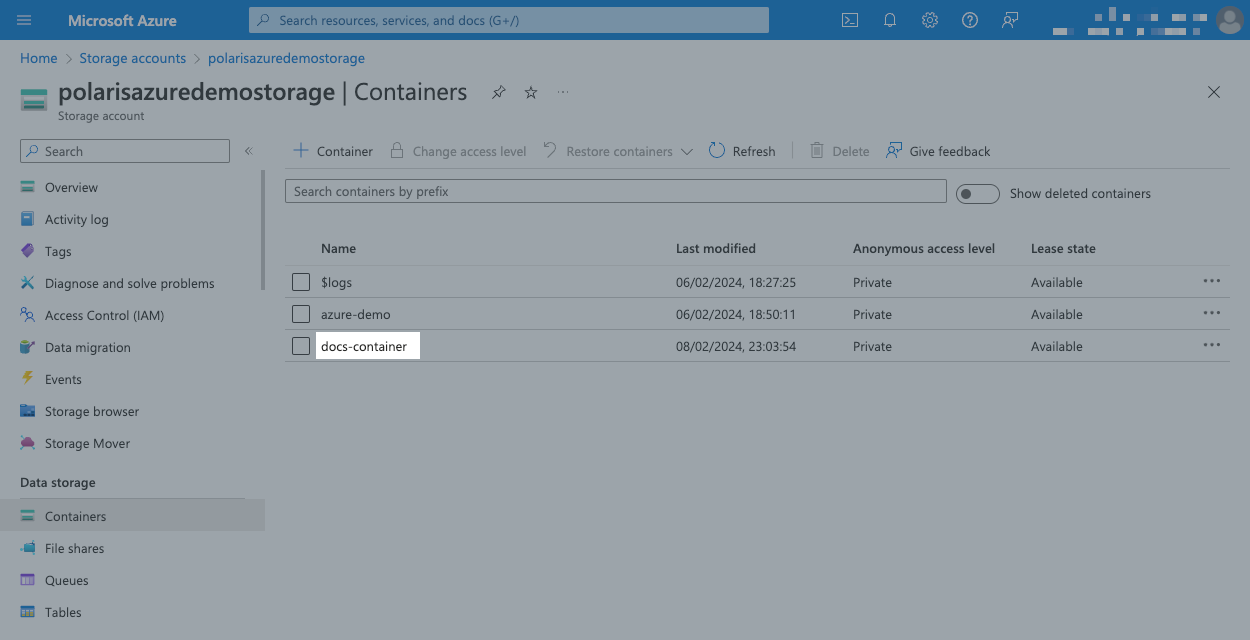
-
Make a note of your container name—you'll need it in a later step.
Set up authentication in Azure
In this section, you set up the authentication that Azure will use to connect to Polaris. You can choose one of the following methods:
- Create a Shared Access Signature (SAS) token (recommended).
- Retrieve an Azure storage account access key.
Set up a SAS token
In the Azure console:
-
Find your storage account and click its name.
-
Click Shared access signature in the left pane.
-
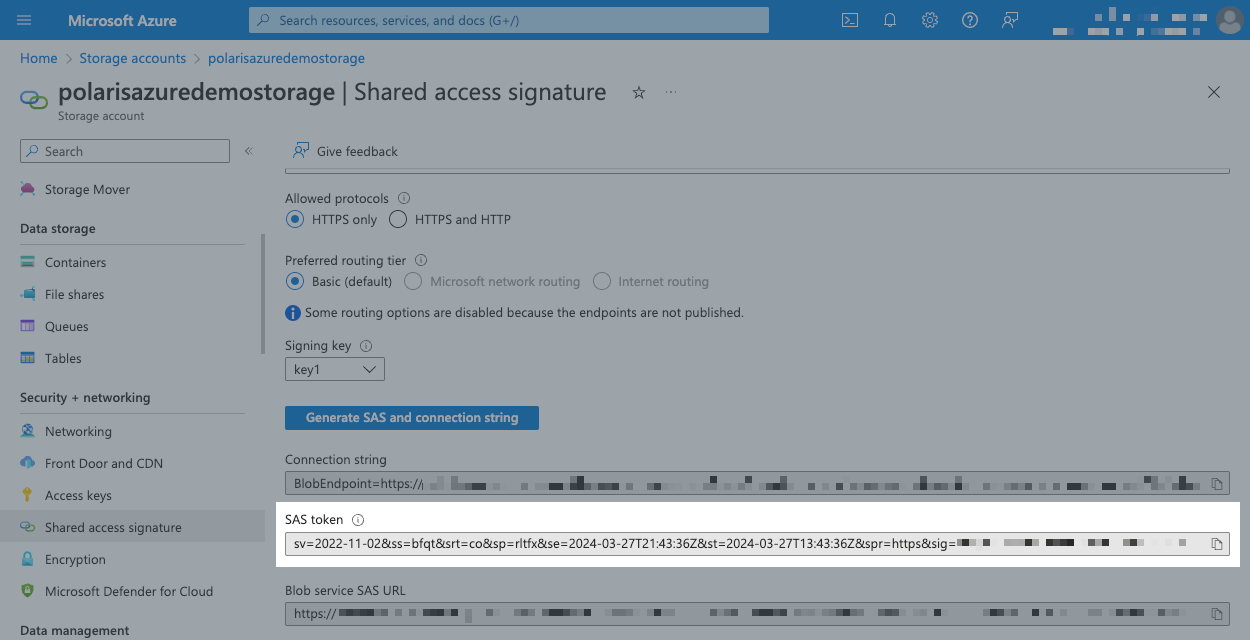
Configure the SAS token as follows:
- Under Allowed resource types, select Container and Object.
- Under Allowed permissions, select Read and List at a minimum.
- Set a Start date/time and Expiry date/time for the token.
You can leave the other defaults as they are.
-
Click Generate SAS and connection string.
-
Copy the SAS token string:
Retrieve a storage account access key
In the Azure console:
-
Find your storage account and click its name.
-
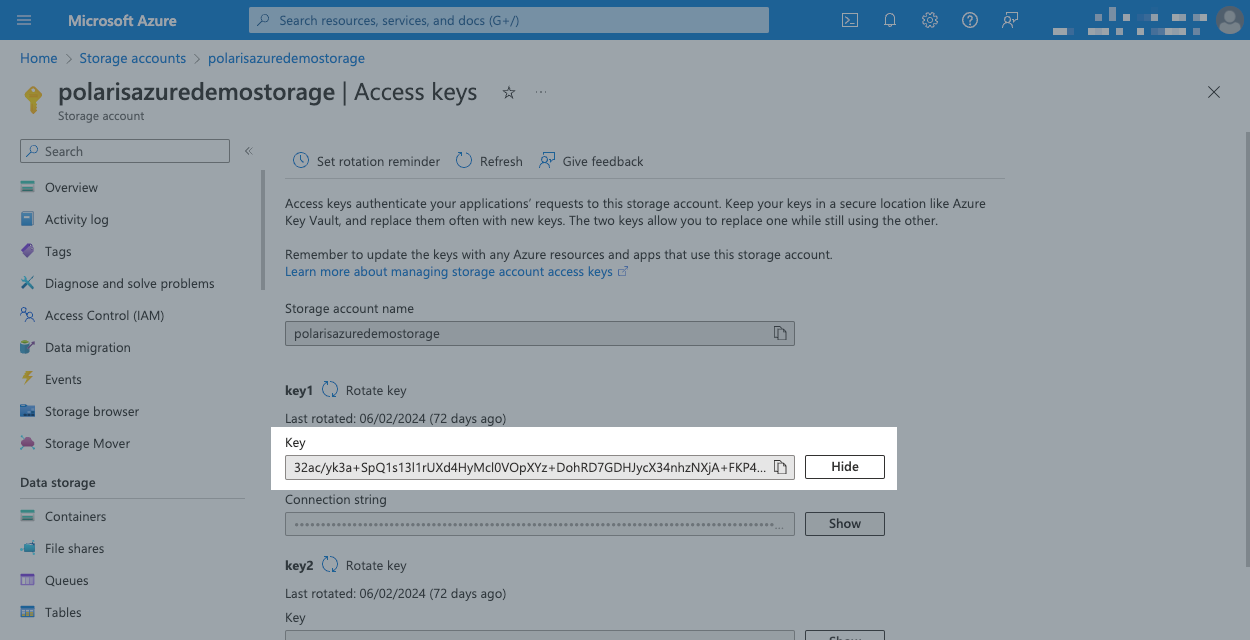
Under Security + networking, select Access keys.
-
Click Show to reveal one of the keys, then copy it.
Create an Azure connection
In this section, you create an Azure connection in Polaris.
-
In Imply Polaris, go to Sources > Create source > Azure Storage.
-
In the New connection dialog, select the Access key or SAS token authentication method, then enter the following details:
- Connection name: A unique name for your connection.
- Description: An optional description for the connection.
- Storage account: The storage account name you copied.
- Container name: The container name you copied.
- Prefix: Specify a prefix if you want to limit access to designated files in the container. The connection is limited to the set of files matching this prefix.
- If you selected Access key, enter the storage account access key you copied.
- If you selected SAS token, enter the SAS token you copied.
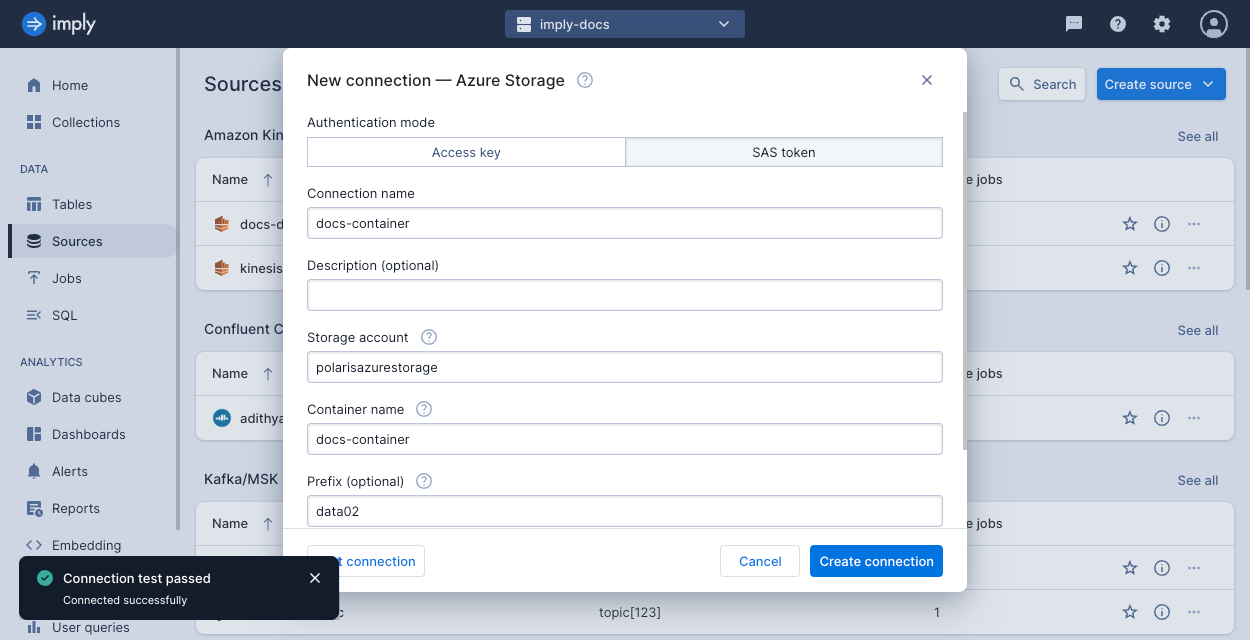
-
Click Test connection to ensure that Polaris can make a connection to Azure.
For more details on these fields, see Azure Blob Storage connection information.
Start an ingestion job
In this section, you create an ingestion job to add data from your Azure storage container into a table in Polaris.
In this guide, Polaris automatically creates the table based on details in the job definition. For greater control on your table properties such as its partitioning or schema enforcement, create the table manually before starting your first ingestion job. For details, see Introduction to tables.
-
In Imply Polaris, go to Jobs > Create job > Insert data.
-
Click New table.
-
Enter a name for the table, and click Next.
-
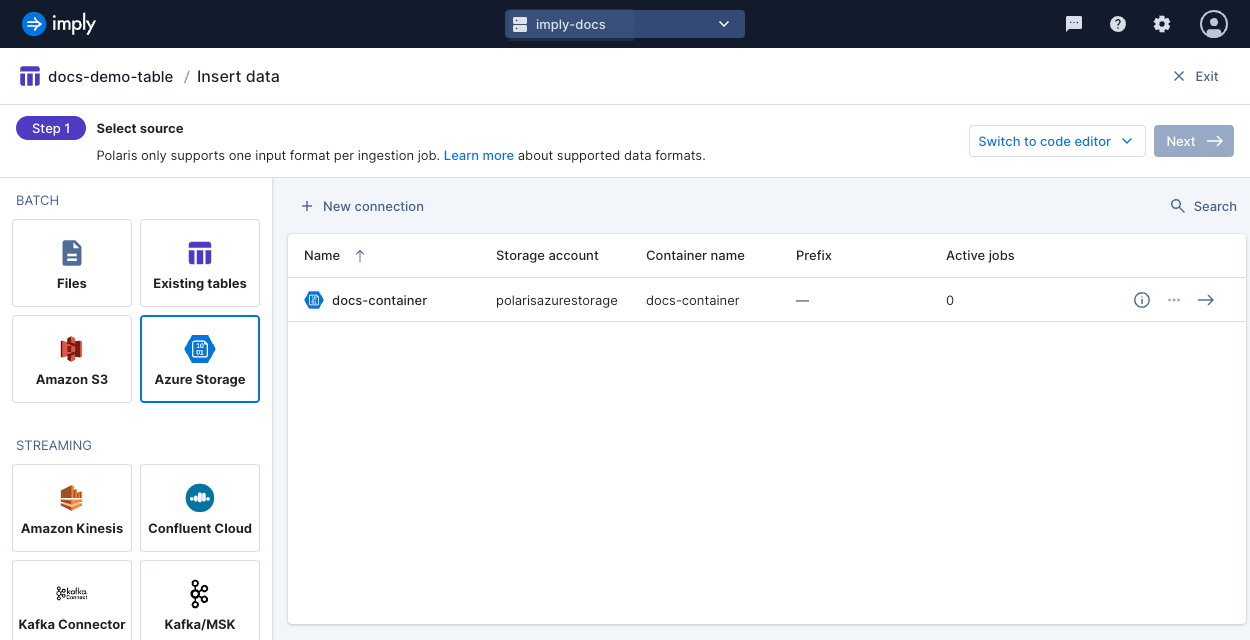
Select the Azure Storage source, then the connection name, and click Next.
-
Verify the input format.
-
Click Continue.
-
Continue through the load data wizard and configure your ingestion job based on your data and use case.
-
Click Start ingestion to begin ingestion.
Learn more
See the following topics for more information:
- Connect to Azure Blob Storage for information on creating an Azure connection in the Polaris UI.
- Connect to Azure Blob Storage: Ingest data by API for information on ingesting data from Azure Blob Storage by API.