Data partitioning
Partitioning is a method of organizing a large dataset into partitions to aid in data management and improve query performance in Imply Polaris.
By distributing data across multiple partitions, you decrease the amount of data that needs to be scanned at query time, which reduces the overall query response time.
For example, if you always filter your data by country, you can use the country dimension to partition your data. This improves the query performance because Polaris only needs to scan the rows related to the country filter.
Time partitioning
Polaris partitions datasets by timestamp based on the time partitioning granularity you select.
By default, time partitioning is set to day, which is sufficient for most applications.
You can partition your data by the following time periods:
- 1 second
- 1 minute
- 5 minute
- 10 minute
- 15 minute
- 30 minute
- 1 hour
- 6 hour
- 8 hour
- 1 day (default)
- 1 month
- 1 quarter
- 1 year
- All (group all data into a single bucket)
Depending on the use case and the size of your dataset, you may benefit from a finer or a coarser setting. For highly aggregated datasets, where a single day contains less than one million rows, a coarser time partitioning may be appropriate. A finer time partitioning may be more suitable for datasets with finer granularity timestamps, where queries often run on smaller intervals within a single day.
Set partitioning for a table
A table that sources a lookup requires all granularity.
You can't change the partitioning of a table used as a lookup source.
Polaris uses day granularity for tables by default.
Automatically created tables assign the table partitioning based on the partitioning granularity of the ingestion job.
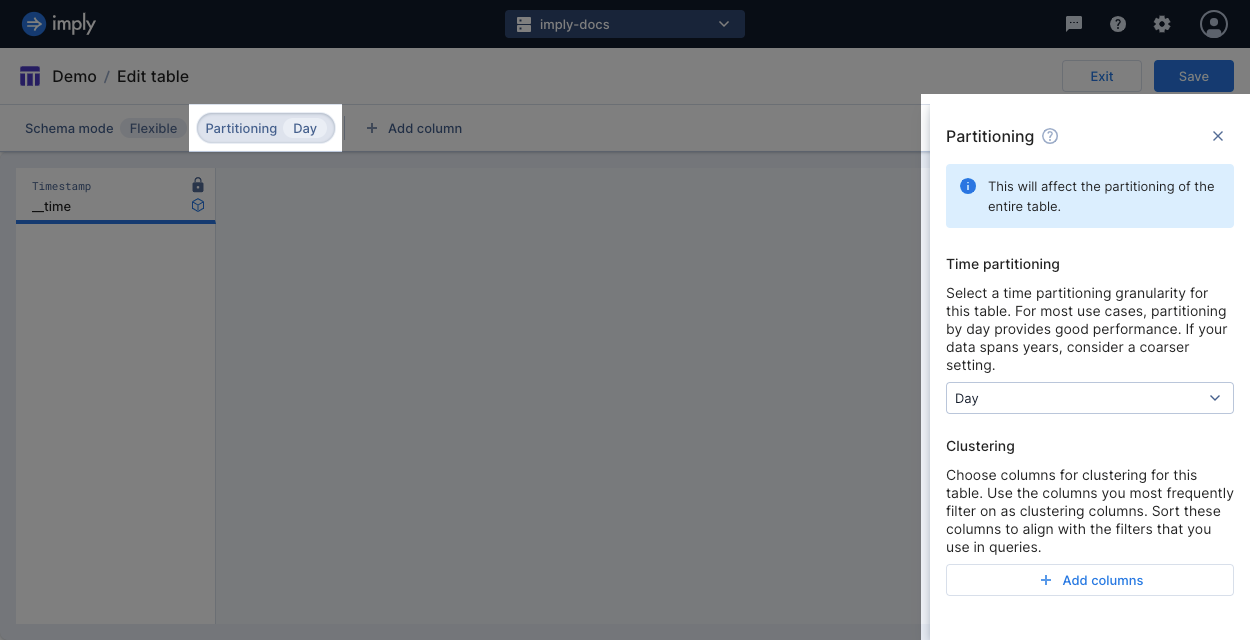
To change the time partitioning on a table, go to the table view and click Manage > Edit table. Click Partitioning from the menu bar to display the partitioning pane. When you change the time partitioning, all segments eventually take on the granularity of the updated partitioning setting. The old partitioning granularity isn't retained.
When creating a table using the API, set the desired partitioning in partitioningGranularity of the request body.
Set partitioning on a job
An ingestion job may apply a different granularity than that set on the table. By default, the job inherits the partitioning granularity from the table's settings.
The way you configure a job's partitioning depends on how you create the job:
- When creating a job in the UI, in the Map source to table step, select Partitioning from the menu bar to open the Partitioning dialog. Select the desired time partitioning for the job.
- When creating a job using the API, set the time partitioning in the
partitionedByparameter in the request body. - When using SQL-based ingestion, set the time partitioning in the PARTITIONED BY clause.
If the time partitioning specified in an ingestion job doesn't match the property set on the table, the job uses the setting defined in the job. The table property remains unchanged.
Partitioning and rollup granularity
When using partitioning with rollup, the partitioning time granularity must be coarser than or equal to the rollup granularity.
Generally, fine-tuning clustering and rollup is more impactful on performance than using time partitioning alone.
Interval for replacing data
The job's time partitioning determines the granularity of data replacement.
The replacement time interval must be coarser than the time partitioning.
If you set the job's time partitioning to all, any data replacement job must replace all data within the table.
Clustering
In addition to partitioning by time, you can partition further using other columns. This is often referred to as clustering or secondary partitioning. You can cluster by any existing column.
To achieve the best performance and the smallest overall memory footprint, we recommend choosing the columns you most frequently filter on. Select the column you filter on the most as your first dimension. Doing so decreases access time and improves data locality, the practice of storing similar data together. The order of the columns determines how Polaris sorts table columns within the partition, which often improves data compression. Note that Polaris always sorts the rows within a partition by timestamp first.
Set clustering for a table
By default, Polaris doesn't cluster by any columns. Automatically created tables assign the clustering columns for a table using the clustering columns declared in the ingestion job.
To change the clustering columns on a table, go to the table view and click Manage > Edit table. Select Partitioning from the menu bar to display the partitioning pane. Click Add columns and choose the desired columns in the order of what you filter on most.
When creating a table using the API, set the desired clustering columns in clusteringColumns of the request body.
Set clustering on a job
An ingestion job may use different clustering columns than what's set on the table. By default, the job inherits the clustering columns from the table settings.
The way you configure a job's clustering columns depends on how you create the job:
- When creating a job in the UI, in the Map source to table step, select Partitioning from the menu bar to open the Partitioning dialog. Select the desired columns for the job.
- When creating the job using the API, set the clustering in the
clusteringColumnsparameter in the request body. - When using SQL-based ingestion, set the clustering in the CLUSTERED BY clause.
If the clustering specified in an ingestion job doesn't match the property set on the table, the job uses the setting defined in the job. The table property remains unchanged.
Example
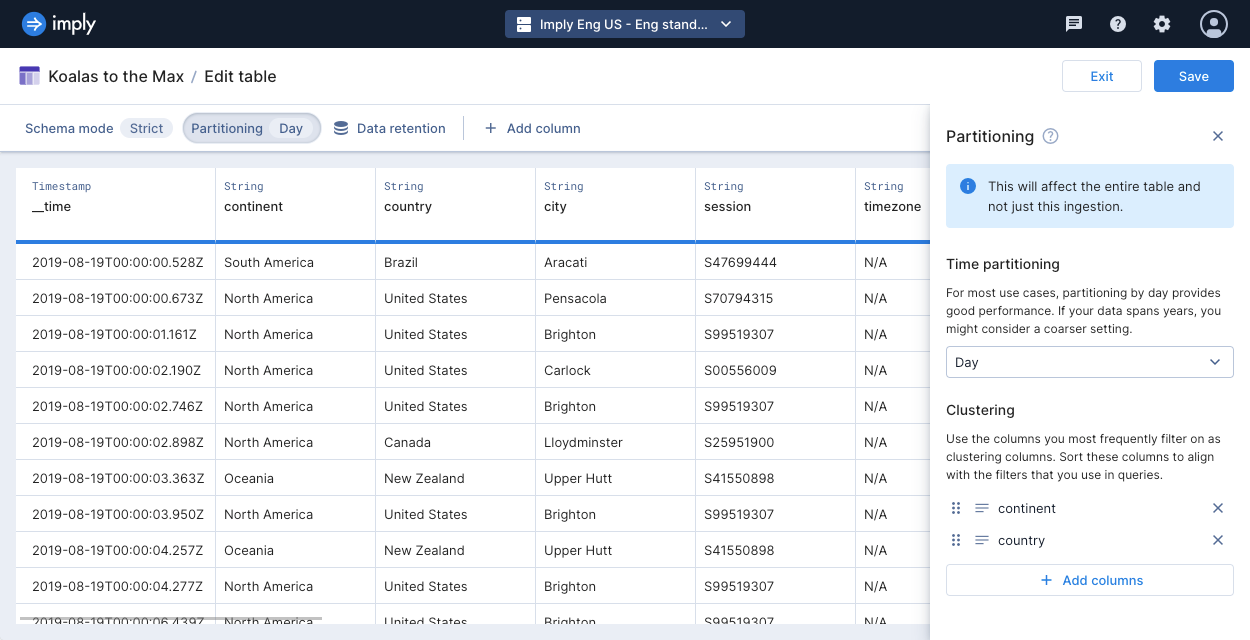
The following screenshot shows a table with time partitioning set to day and clustering configured on continent and country, in that order.
Segment generation
Partitioning controls how data is stored in files known as segments. The partitioning granularity translates to the interval by which segments are generated and stored. For example, if your data spans one week, and your partitioning granularity is set to day, there are seven one-day intervals that can each contain segments.
A given interval may have zero segments if no data exists for that time interval. A given interval may have more than one segment if there is a lot of data within the time interval. Polaris typically stores around three million rows in a segment and limits the size of each segment to 5 GB.
Polaris optimizes the size of each segment for best performance, meaning that Polaris may create multiple segments for a given interval. For example, with ALL granularity, Polaris groups all data into a single bucket. The bucket may contain more than one segment if there’s more data than fits in a single segment.
Each segment is identified by a version that is the UTC timestamp for when Polaris created the segment. Keep the following in mind when working with versions:
- An INSERT data job doesn't necessarily create a new segment, so a segment may have data ingested later than the version timestamp. In these instances, cross reference with approximately when the INSERT job was created.
- REPLACE and compaction jobs create new segments.
The granularity of your segments affects the following data management functions:
- Tables eligible for lookup sources. Lookup tables must use
allpartitioning and contain only a single segment. Learn more about lookups. - The data that's cached or retained when you customize the storage policy for a table.
Learn more about storage policies. - The data that gets deleted when you delete data over a certain time span.
Learn more about deleting data. - The data that gets replaced when you replace data over a certain time span.
Learn more about replacing data. - The data that gets restored when you recover previously deleted data. Learn more about recovering deleted data.
- When recovering data, if you have multiple segments for a given time interval, you can choose a specific segment version to restore.