Create and manage projects
A project represents a base entity that holds tables, data sources, files, jobs, visualizations, alerts, and reports. Users can have different permissions for each project. For example, a data writer in one project can be a data reader in another project.
You may want to use multiple projects to:
- Separate environments like development, staging, and production.
- Organize your account for different departments or customers.
- Add projects to different regions and of different sizes.
Each organization can have up to 25 projects per region.
You can view billing information for your whole organization or per project.
If you are on a paid plan, you can create and manage projects in the Polaris UI or by using the Projects API. This topic focuses on the Polaris UI. For information on how to create projects using the Projects API, see Create and manage projects by API.
Prerequisites
Users with the AdministerProjects permission and members of the Organization Admin group can create and manage projects.
For information on permissions, see Permissions reference.
You must be on a paid plan to create multiple projects per region. To learn how to upgrade to a paid plan from a free trial, see Upgrade to a paid plan.
Create a project
Follow these steps to create a new project:
- In the top right corner of the page, click the gear icon to open the Administration console.
- On the Projects page, click Create project.
- In the New project dialog, enter the name of the project. Project names must contain at least one character and can't exceed 128 characters.
- Select a cloud provider and region in which to deploy your project. Once selected, you can't change the cloud provider and region.
- Click Next.
- In the Choose project size dialog, select the size for your project.
- Click Create project.
- Once Polaris creates the project, it enters the
Runningstate.
View project details
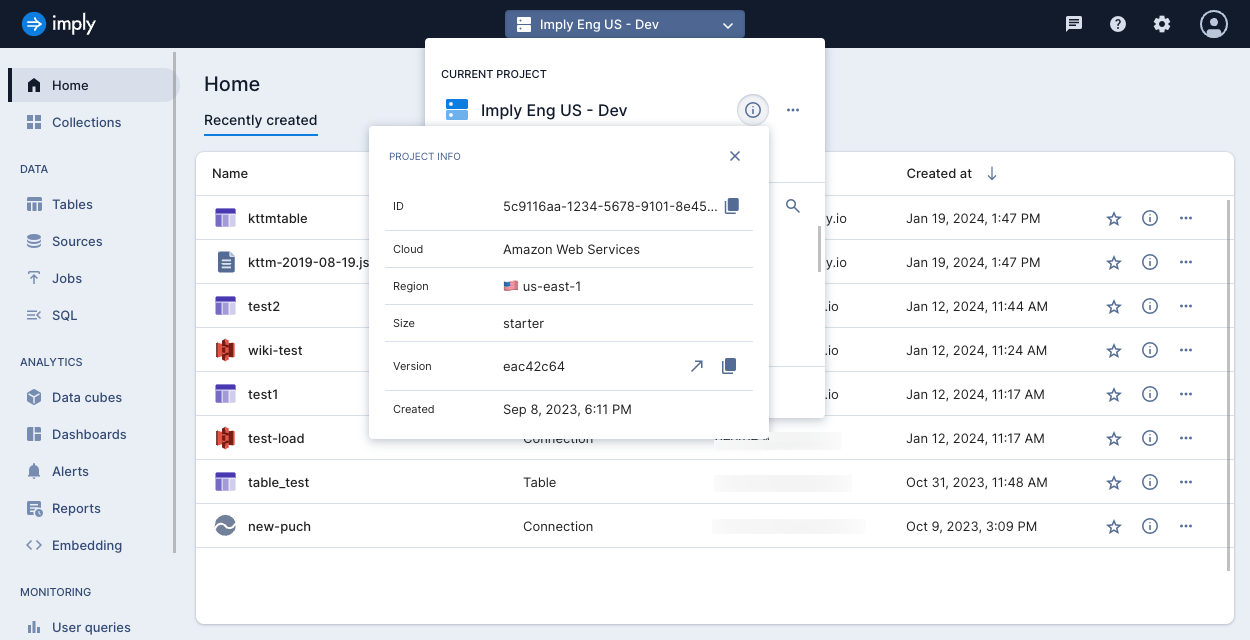
To view the details of your project, expand the project selector drop-down and click the information icon next to the project's name. This opens the Project info dialog, which displays the following information:
- ID: Project ID.
- Cloud: Cloud provider for the project.
- Region: Cloud region of the project.
- Size: Project size. For available project sizes, see Project size.
- Version: Current version identifier of the project, such as
eac42c64. - Created: Date and time the project was created.
The following screenshot shows the Project info dialog:
You can access the same menu from the Projects page by clicking the information icon next to the project name.
Switch between projects
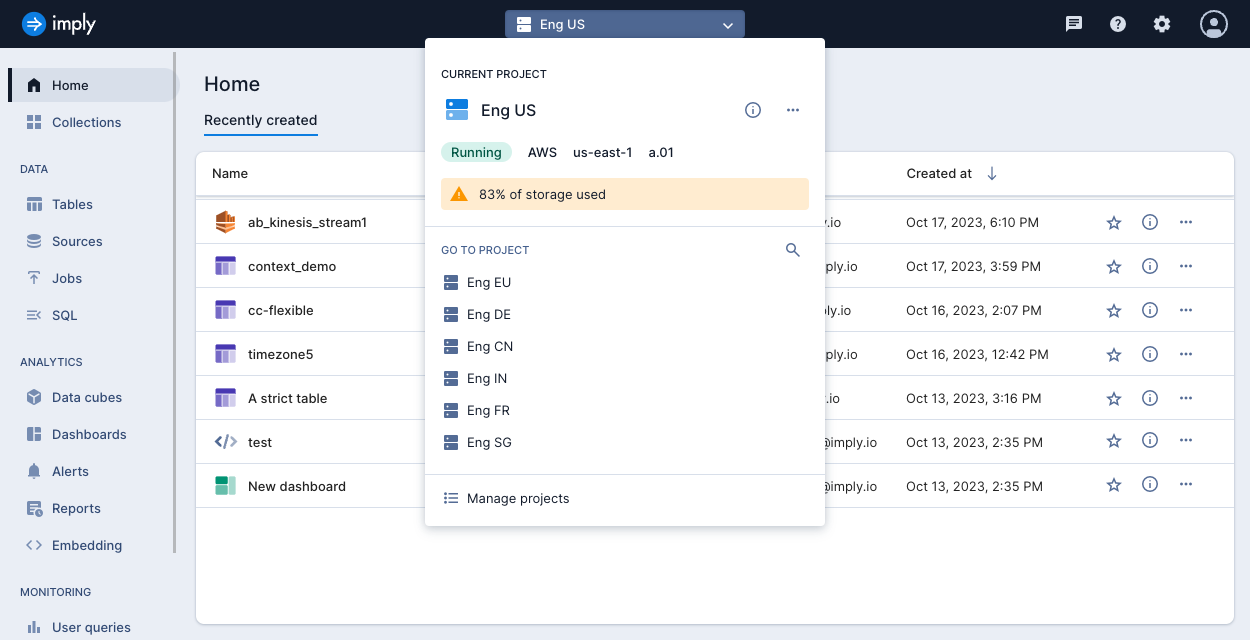
When you log in to your organization, Polaris displays the project you accessed last. You can switch between projects using the project selector drop-down. Expand the drop-down to display the available projects, then select a project.
If you have multiple organizations, you must log in to each organization separately.
The following screenshot shows the project selector for an organization with multiple projects:
Manage a project
You can change a project's name, resize, pause, and delete a project from the project selector drop-down. Expand the project selector drop-down, then click the ellipsis to display the actions menu.
The following screenshot shows the project selector actions menu:
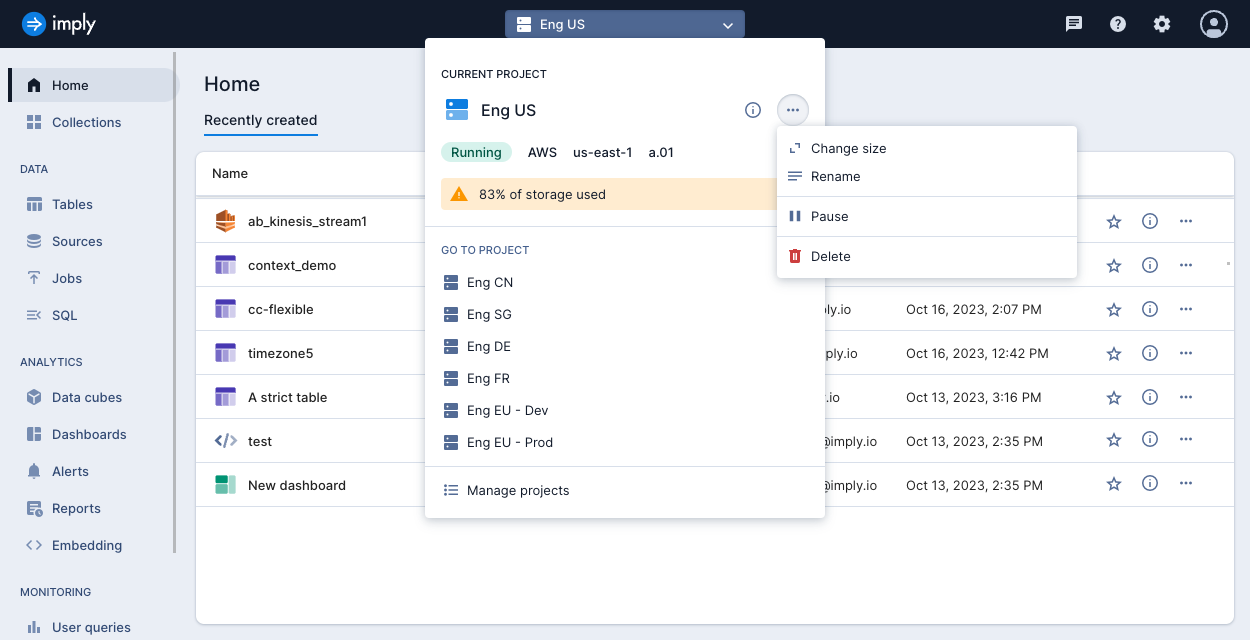
You can access the same menu from the Projects page by clicking the ellipsis next to the project name.
Delete a project
Deleting a project is irreversible. When you delete a project, you also delete all of the project's assets, including tables, files, jobs, and connections.
Each organization must have at least one project. You can't delete the last project in the organization. You can delete the last project in a region as long as you have another project in a different region within the same organization.
Polaris can take a few minutes to delete a project.
Deletion protection
To prevent accidental deletion of a project, set the deletionProtection property to true using the Projects v1 API.
For more information, see Create and manage projects by API.
Learn more
See the following topics for more information:
- Scale a project for information on how to change the size of a project.
- Pause and resume a project for information about pausing a project.