Manage user groups
In Imply Polaris, a group represents a collection of permissions, which enable users to perform specific actions at the organization or project level. When you add a user to a group, you grant that user all of the permissions within the group. There is no limit to the number of groups a user can belong to. Users who belong to multiple groups inherit permissions assigned to each group.
Polaris provides a set of predefined groups that support common use cases. You can use the predefined groups or create new groups with specific permissions.
Predefined groups are maintained by Polaris and cannot be modified.
Predefined groups
Predefined groups are scoped to the organization, that is they grant specific permissions across all existing and future projects. These groups are managed by Polaris and cannot be modified or deleted.
If you want to create a custom group that is scoped to a specific project but has the same set of permissions as a predefined group, you can duplicate the predefined group and edit the assigned projects.
Organization Admin
When you create a Polaris account, you are added to the Organization Admin group by default.
This group is authorized to manage all operations across the organization. Members can create and manage projects, add and remove users and user groups, configure API keys, view metering and billing data across all projects, access audit logs, create and manage IP allowlists, and set maximum project size to control cost and auto-scaling.
Only members of the Organization Admin group can add new users to this group.
Project Admin
This group is authorized to administer existing projects. Members can manage project's assets, view usage data, create and manage IP allowlists for associated projects, and set a maximum project size. Members cannot create or delete projects.
There can be more than one Project Admin per project.
Data Manager
This group is authorized to ingest, query, and meter data in Polaris. Members can manage files, data cubes, tables, input sources, and SQL queries. Members cannot view billing information.
Data Analyst
This group is authorized to transform data into assets that can be used by the organization. Members can create data cubes and dashboards, run queries, and view reports. Members cannot view metering, modify input sources and tables, or set a project's maximum size.
Viewer
Members of this group have read-only access to tables and visualization resources, such as data cubes and dashboards.
Permissions assigned to predefined groups
The following table shows permissions assigned to the predefined groups.
| Permission | Organization Admin | Project Admin | Data Manager | Data Analyst | Viewer |
|---|---|---|---|---|---|
AccessAlerts | x | x | x | x | |
AccessAuditLogs | x | ||||
AccessDownloadData | x | x | x | x | |
AccessDownloadLargeData | x | x | x | x | |
AccessMetrics | x | x | x | ||
AccessMonitoring | x | x | x | ||
AccessMonitorQueries | x | x | x | ||
AccessQueries | x | x | x | x | |
AccessQueryRawData | x | x | x | ||
AccessReports | x | x | x | x | |
AccessScaling | x | x | x | x | |
AccessVisualization | x | x | x | x | x |
AdministerAlerts | x | x | |||
AdministerApiKeys | x | ||||
AdministerBilling | x | ||||
AdministerClients | x | ||||
AdministerDashboards | x | x | |||
AdministerDataCubes | x | x | |||
AdministerEmbedLinks | x | x | |||
AdministerNetworkPolicies | x | ||||
AdministerProjects | x | ||||
AdministerQueries | x | x | x | ||
AdministerReports | x | x | |||
AdministerScaling | x | x | x | ||
AdministerUsers | x | ||||
ManageAlerts | x | x | x | ||
ManageAlertsWebhooks | x | x | x | ||
ManageApiKeys | x | ||||
ManageDashboards | x | x | x | x | |
ManageDataCubes | x | x | x | x | |
ManageFiles | x | x | x | ||
ManageIngestionJobs | x | x | x | ||
ManageNetworkPolicies | x | x | |||
ManageProjects | x | x | |||
ManageReports | x | x | x | ||
ManageConnections | x | x | x | ||
ManageTables | x | x | x | ||
ViewTables | x | x | x | x | x |
Manage groups
You can manage groups using the Polaris UI or the Identity management API.
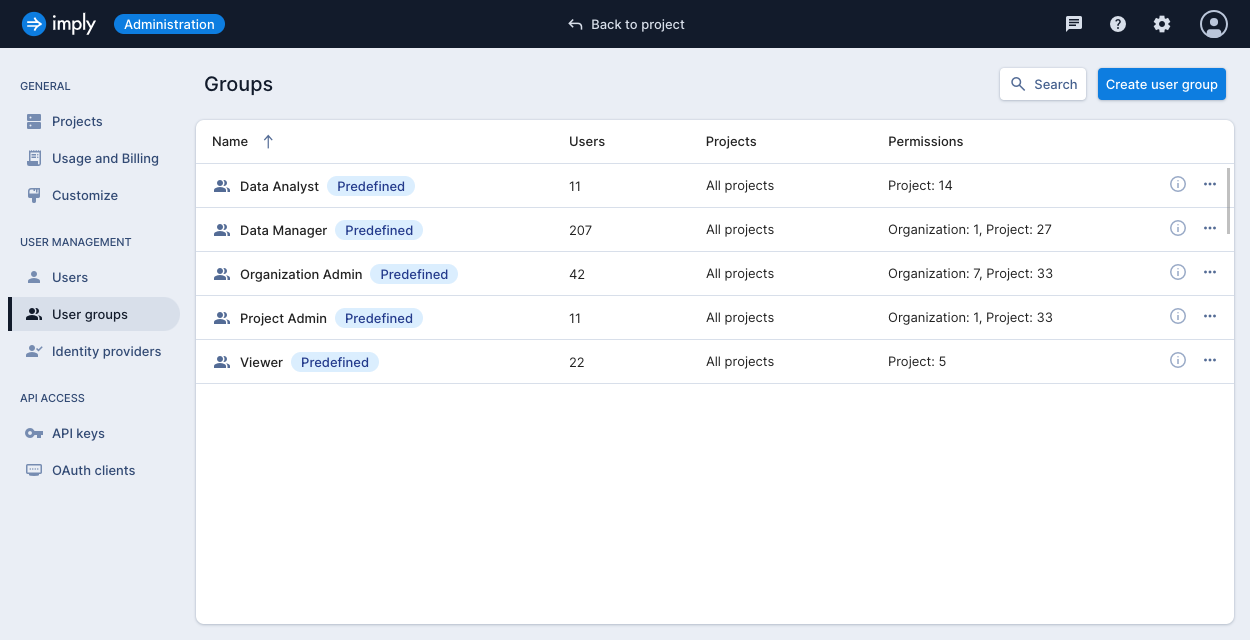
In the top right corner of the UI, click the Administration gear icon. In the left sidebar, click User groups to display the Groups page, where you can view, create, and manage groups.
Create a group
Users with the AdministerUsers permission and members of the Organization Admin group can create new groups.
To create a new group, do the following:
- On the Groups page, click New user group.
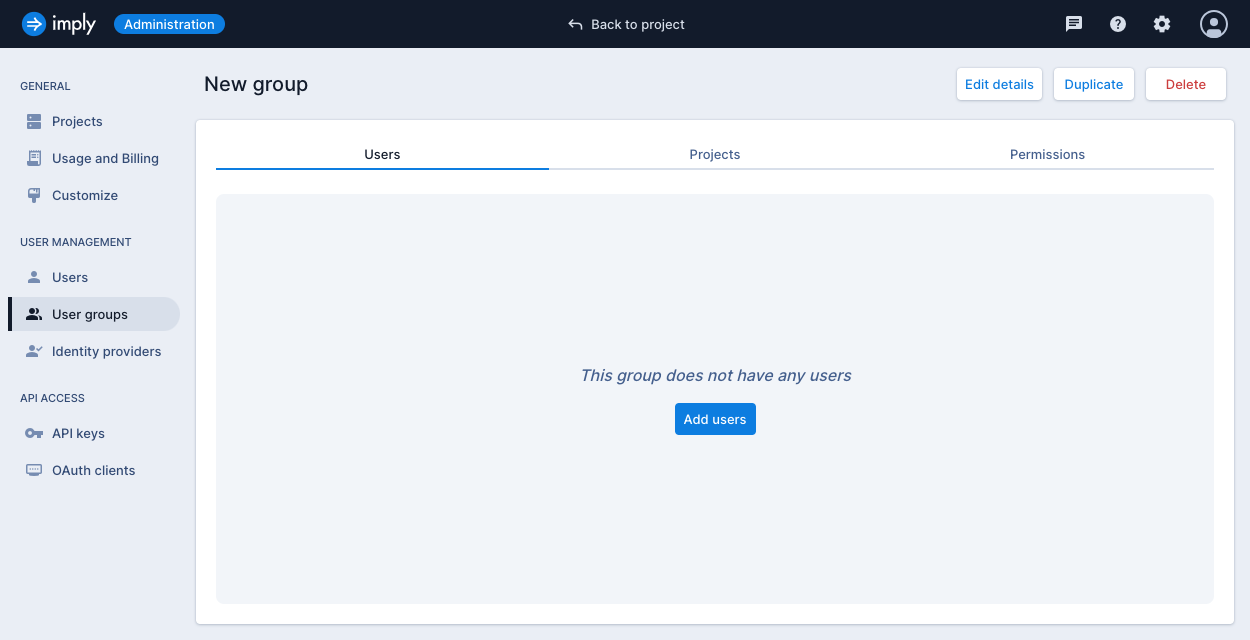
- Enter the group name and click Create user group. This creates an empty user group.
- To add users to the group, go to the Users tab and click Add users. Select the users you want to add from the list.
- To specify which projects this group can access, go to the Projects tab. Here, you can scope the group's permissions.
- Select Applies to all projects to scope the group's permissions to all existing and future projects.
- Select Applies to specific projects to scope the group's permissions to selected projects only.
- To add permissions, go to the Permissions tab and click Add permissions. In the Add permissions to user group dialog, select the permissions you want to apply to the group. You can select all permissions or choose between organization and project-level permissions.
You can also duplicate an existing group by clicking Duplicate on the group's details page.
Edit a group
You can edit a group's name, permissions, and project access from the group's details page.
To edit the group's name, click Edit details in the top-right corner of the page.
To add new users to a group, go to the Users tab and click Add users. Select the users you want to add to the group.
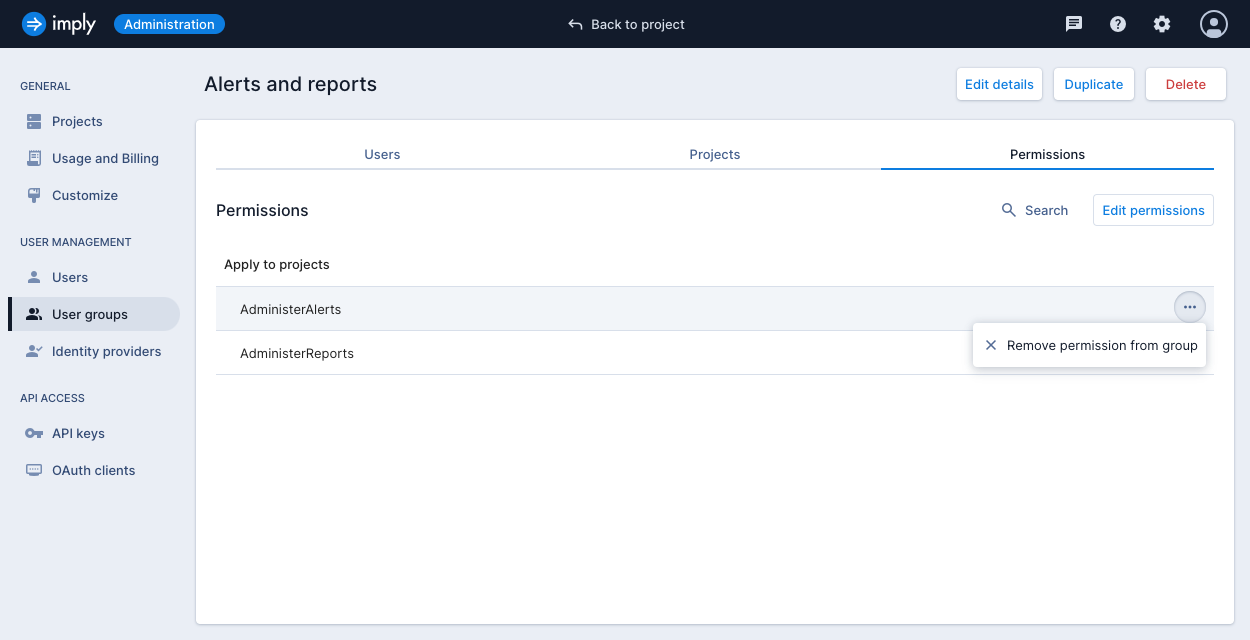
To remove a permission or a project assignment, navigate to the relevant tab and click the ellipsis icon next to the name of the resource, then click Remove from the group.
The following screenshot shows how to remove the AdministerAlerts permission from the group named Alerts and reports:
Delete a group
To delete a group, follow these steps:
- On the Groups page, click the ellipsis for the group you want to delete and select Delete.
- Confirm your selection and click Delete user group.