Invite users to your organization
When you sign up for an Imply Polaris account, Polaris creates an organization for you and adds you to the Organization Admin group.
Members of the Organization Admin group and users with the AdministerUsers permission assigned to their profile can invite new users to the organization.
For information on permissions, see Permissions reference.
To invite a new user to your organization, follow these steps:
- In the top right corner of the page, click the Administration gear icon.
- In the left sidebar, click Users.
- Click Create user.
- Enter the user details. You can't modify the user email once set.
- New users have read-only access by default. To grant access to specific Polaris features, add the user to a group that has the necessary permissions. Click Add to groups and select one or more groups. For more information on controlling user access with groups, see User groups.
- Select Send invitation email to notify the user of their access to Polaris.
- Click Invite user.
Polaris creates a user account in the Invited state.
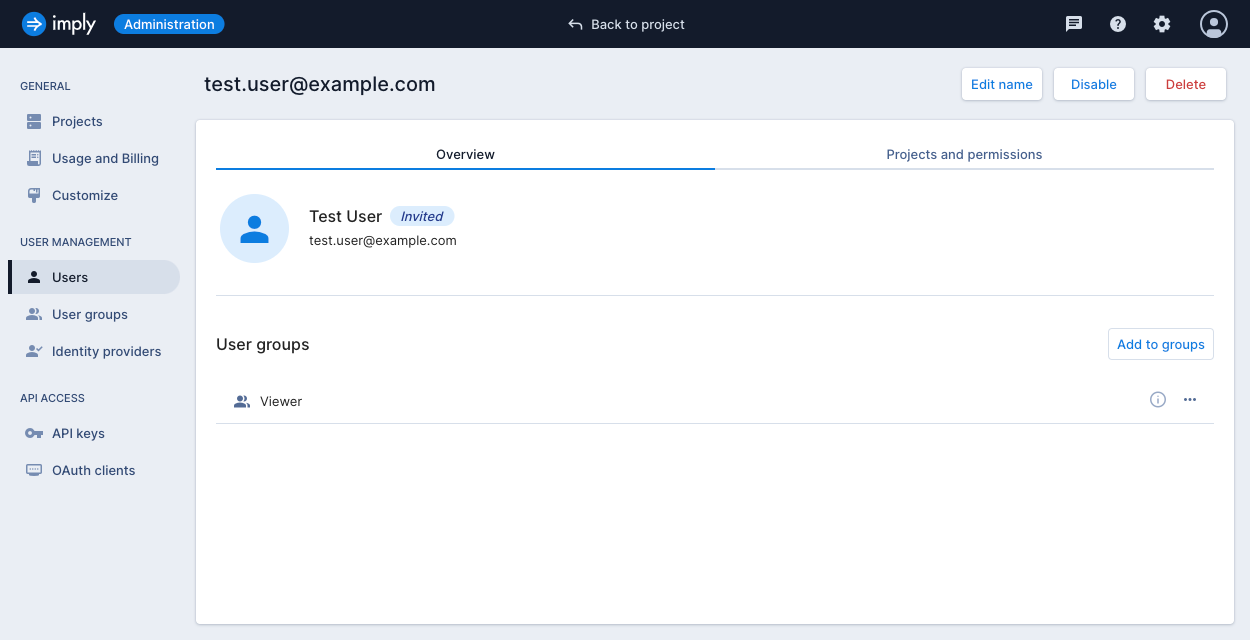
If you selected the Send invitation email option when setting up the user account, the user receives an email from Polaris prompting them to create a password to complete the account setup.
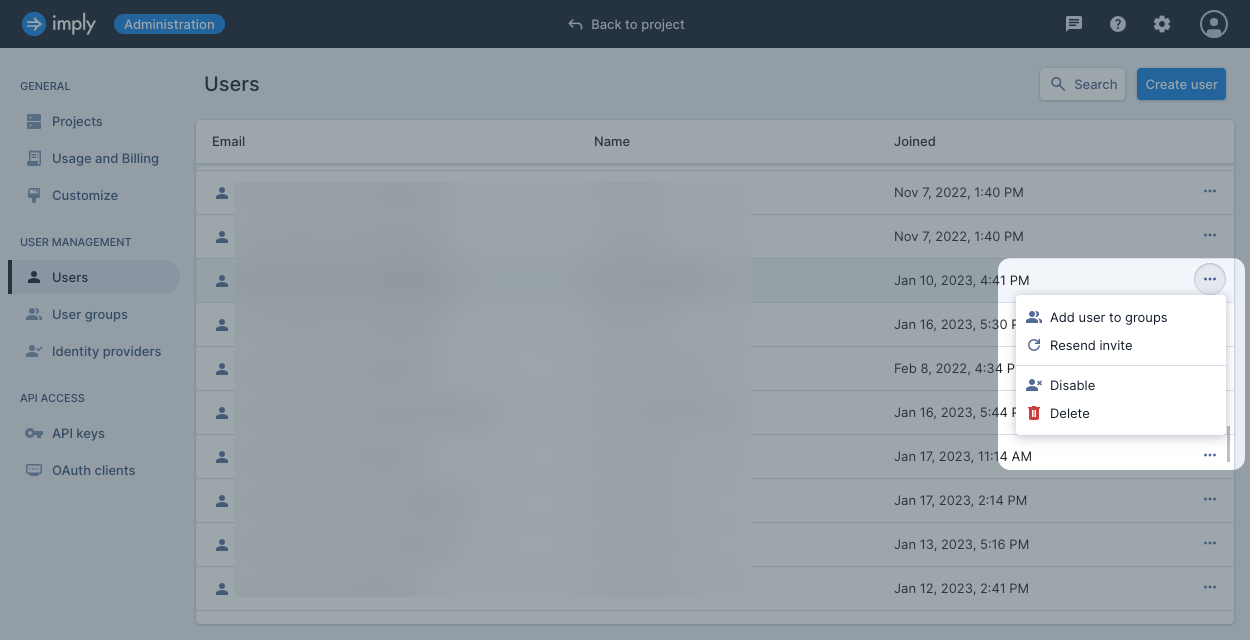
If you need to resend the invitation, you can do so from the Users page. Click the Menu button next to the user name and select Resend invite.