Connect from external business intelligence applications
While Imply Polaris includes built-in visualization capabilities, you can integrate Polaris with your existing business intelligence tools to explore, query, and share your data.
This topic describes how to connect Polaris to the following applications:
Prerequisites
To integrate Polaris with business intelligence tools, you need an API key with the AccessQueries permission. See Authenticate with API keys to obtain an API key. Visit Permissions reference for more information on permissions.
Also, make sure you have the following information required to complete the connection string:
REGION: The cloud region of your Polaris project.CLOUD_PROVIDER: The cloud service provider for your Polaris infrastructure.PROJECT_ID: The unique identifier for your Polaris project.
Authentication credentials
When establishing a connection to Polaris from an external application, you may be required to enter authentication credentials. You can use any string value as the username. For the password, enter your Polaris API key.
Apache Superset
Apache Superset is a business intelligence web application that helps you explore and visualize data. You connect your Superset instance to Polaris using the SQLAlchemy connector.
To use Polaris in Superset, follow these steps:
-
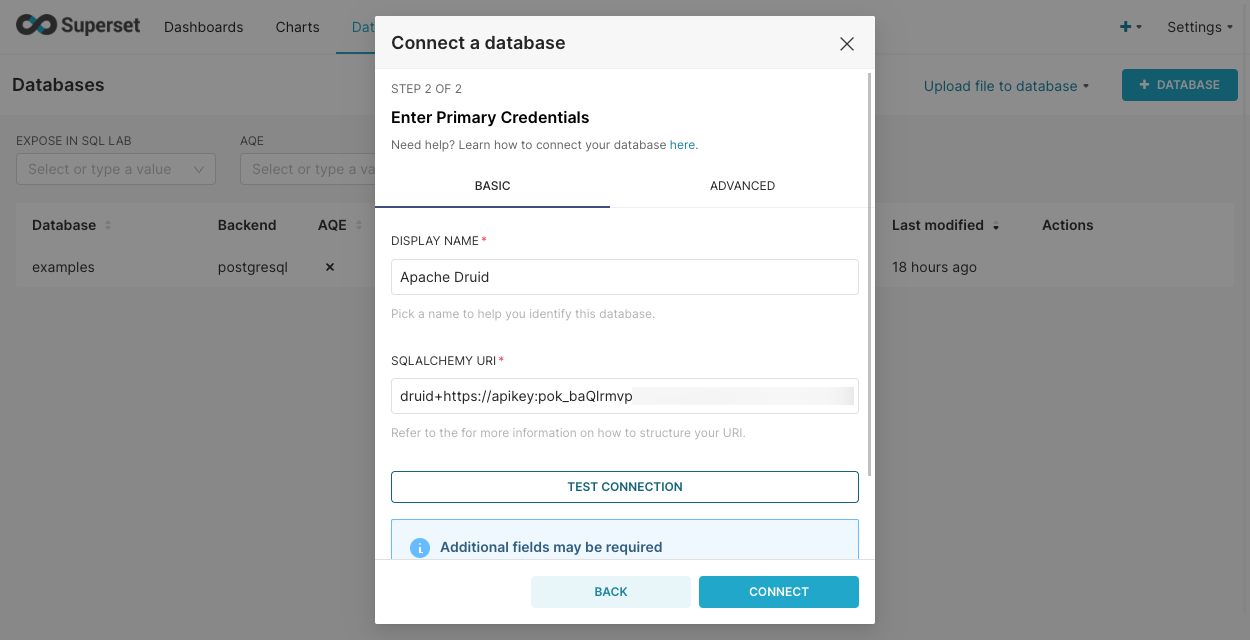
In Superset, go to Data > Connect a database and select Apache Druid from the list of supported databases.
-
Enter the following SQLAlchemy connection string in the Add Database dialog:
druid+https://apikey:POLARIS_API_KEY@ORGANIZATION_NAME.REGION.CLOUD_PROVIDER.api.imply.io:443/v1/projects/PROJECT_ID/query/sqlIn the connection string, replace
POLARIS_API_KEYwith your API key.For example:
druid+https://apikey:pok_baQlrmvprWGAL...W3Lbmih@example_organization.us-east-1.aws.api.imply.io:443/v1/projects/12375ffx-f7x4-4f0x-a1a6-3b3424987ee0/query/sqlThe following screen capture shows the configuration in Superset version 2.0:
-
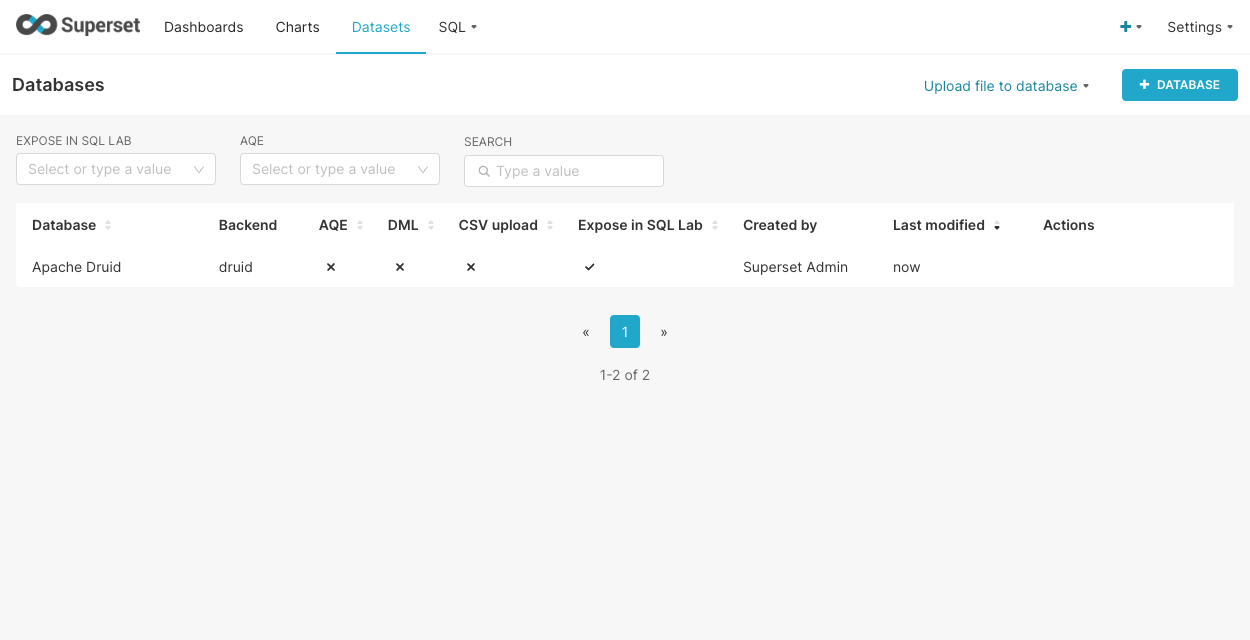
Click Connect. Once connected, you should be able to retrieve and query Polaris tables from Superset.
Grafana
You can install a plugin in Grafana to add the ability to query and visualize data stored in Polaris.
See Integrate with Grafana for more information, instructions, and examples.
Looker
Looker is a business intelligence and data analytics platform. Connecting Looker to Polaris enables you to query your data directly from Looker.
To connect Looker to Polaris over JDBC, follow these steps:
-
Download the Avatica JDBC driver. We recommend using Avatica JDBC driver version 1.23.0 or later. Note that starting with Avatica 1.21.0, you may need to set the
transparent_reconnectionproperty totrueif you notice intermittent query failures. -
In the Admin section of Looker, navigate to Database > Connections > Add Connection.
-
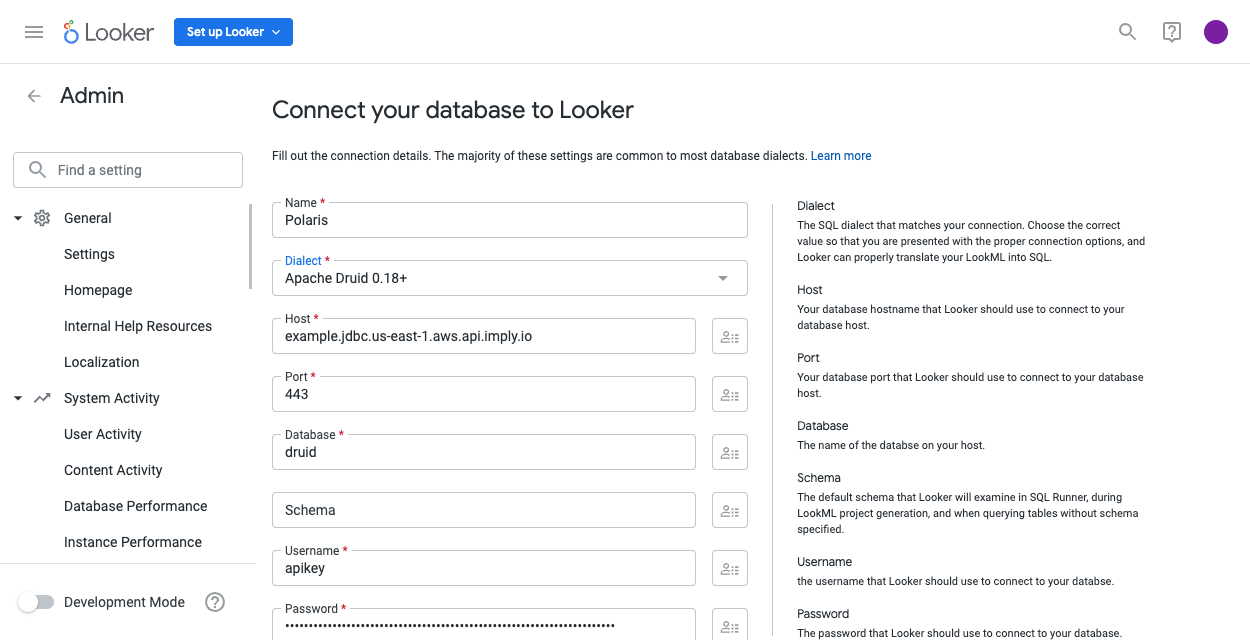
Set the following options:
- Name: Assign a label to your connection.
- Dialect: Select Apache Druid 0.18+.
- Host: Specify the hostname in the format
PROJECT_ID.jdbc.REGION.CLOUD_PROVIDER.api.imply.io. - Port: Enter port number 443.
- Database: Specify database name
druid. - Username: Assign any string.
- Password: Pass in your API key.
The following screen capture shows the configuration in Looker version 23.6.66:
Specify the other fields as desired, or leave them at default values.
-
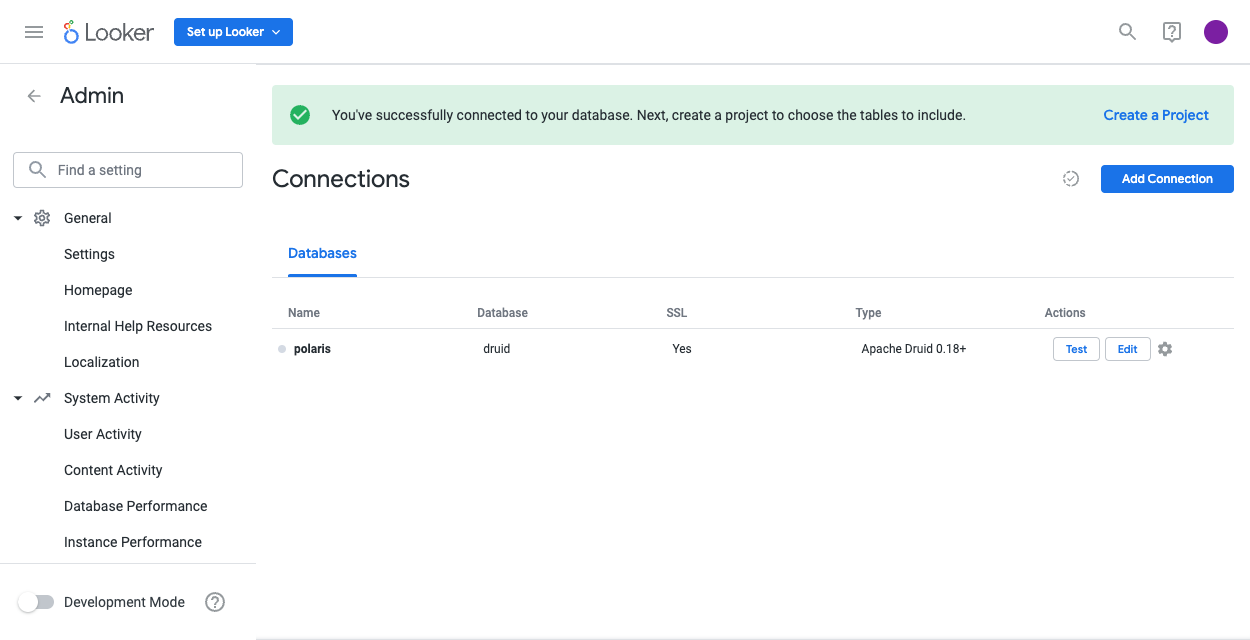
Click Test to verify the connection.
-
Click Connect to save these settings.
-
Test the connection in SQL Runner. Navigate to SQL Runner, and select your connection and the
druidschema. You should see your Polaris tables in the Tables menu.If you get the
Couldn't Load Tableserror due to authentication failure, verify that you have a valid API key in the Password field of the Looker connection.
Tableau
Tableau provides a platform for analyzing, visualizing, and building reports from data.
You can use the Imply Tableau connector to integrate Polaris with Tableau Desktop or Tableau Server. See Integrate with Tableau for details.
Learn more
See the following topics for more information:
- Connect over JDBC to establish a connection to Polaris using JDBC.
- Apache Superset documentation to connect to a database in the DB Connection UI.
- Grafana documentation to manage data sources in Grafana.
- Looker documentation to configure a database connection from Looker.
- Tableau documentation to start a generic JDBC connection in Tableau.